
RECENT POSTS
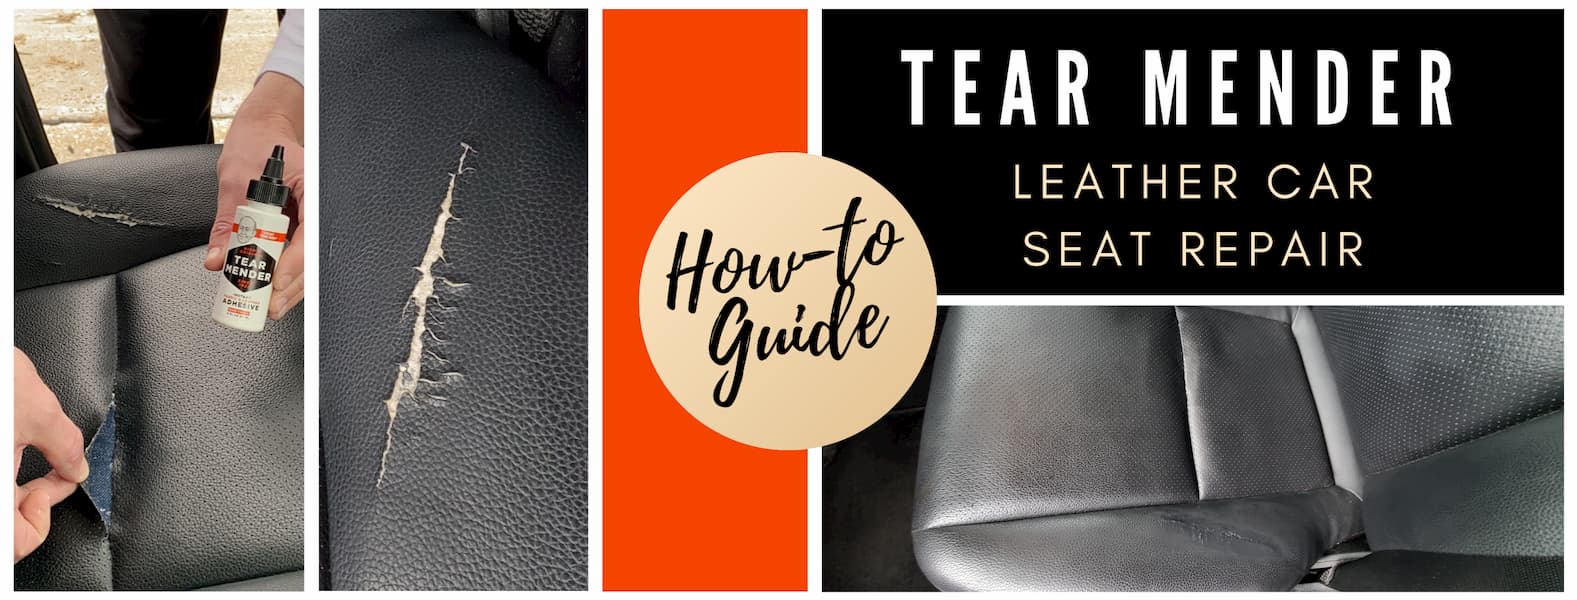
How To Repair A Leather Car Seat
Thursday, June 11, 2020
By: Kevin Reilly
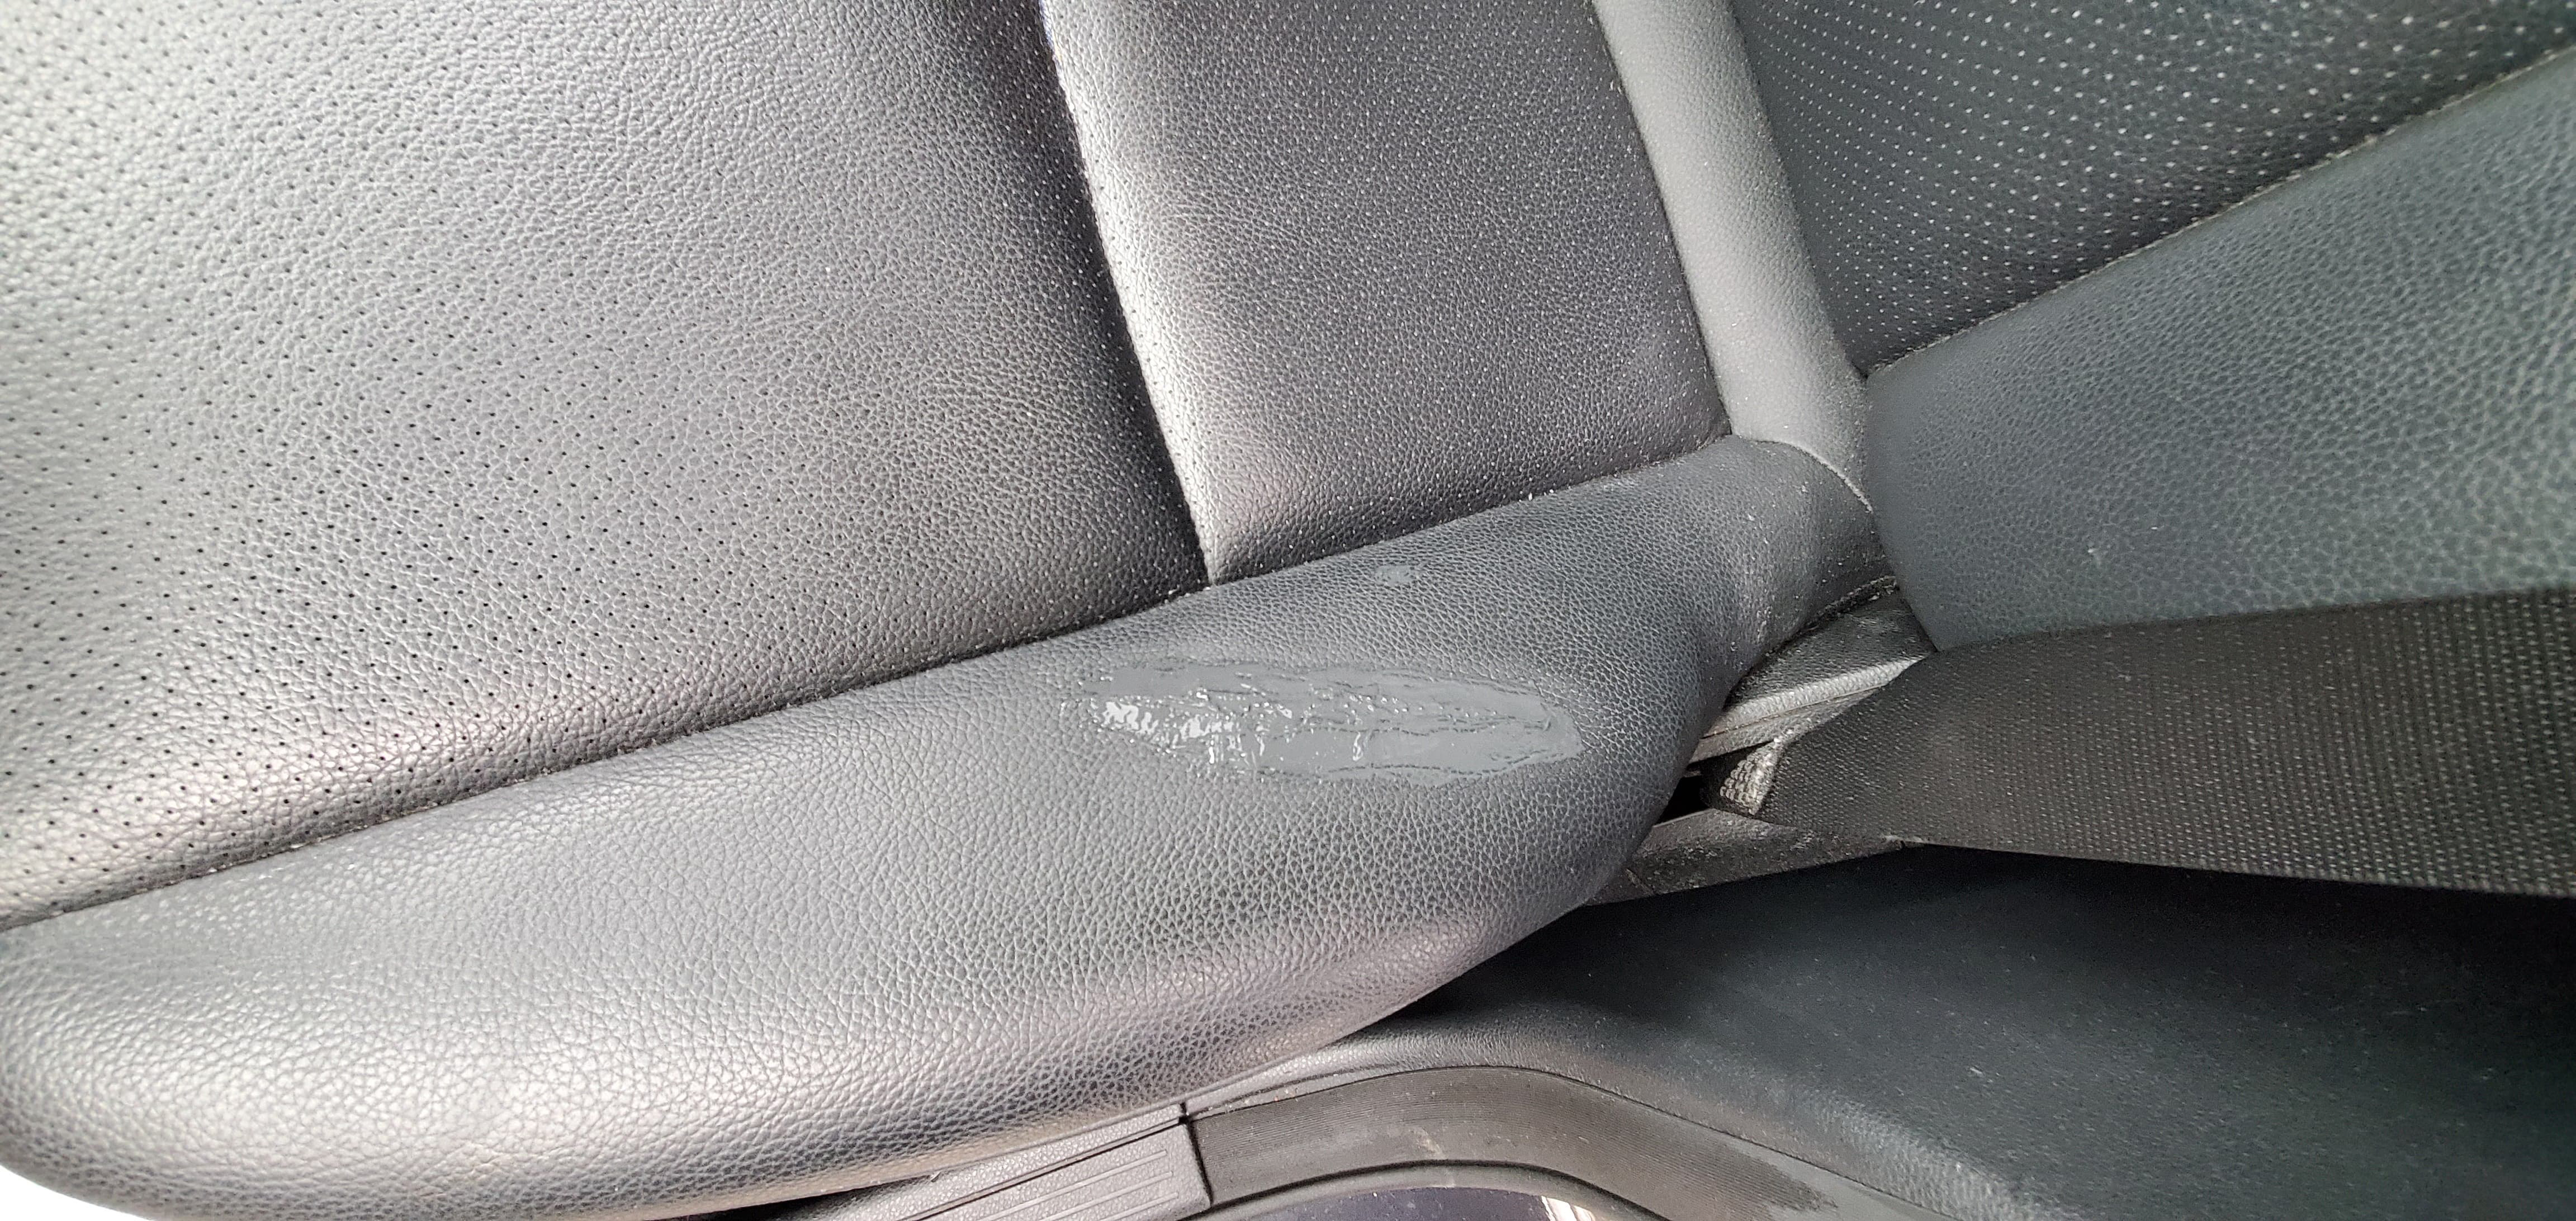
Do you have a damaged leather car seat? Rips, tears, or holes typically develop in the seats that get the most use (often the driver’s seat), and they can take many different shapes. “Seam tears” that go all the way through to the seat cushioning make for the cleanest fix, while surface tears and cracks (that keep spreading the more you get in-and-out of your car!) present more of a challenge. It just so happens, I had both types of damage in my own driver’s seat! In this guide, we’re going to walk through how to fix two types of leather damage in a way that will last and look great.

Do you have photos of your repairs? Send them to kreilly@lhbindustries for a chance to win a 2 oz. bottle of Tear Mender.
Do you have a damaged leather car seat? Rips, tears, or holes typically develop in the seats that get the most use (often the driver’s seat), and they can take many different shapes. “Seam tears” that go all the way through to the seat cushioning make for the cleanest fix, while surface tears and cracks (that keep spreading the more you get in-and-out of your car!) present more of a challenge. It just so happens, I had both types of damage in my own driver’s seat! In this guide, we’re going to walk through how to fix two types of leather damage in a way that will last and look great.
How to fix a tear that goes all the way through the leather car seat (such as a “seam tear”):
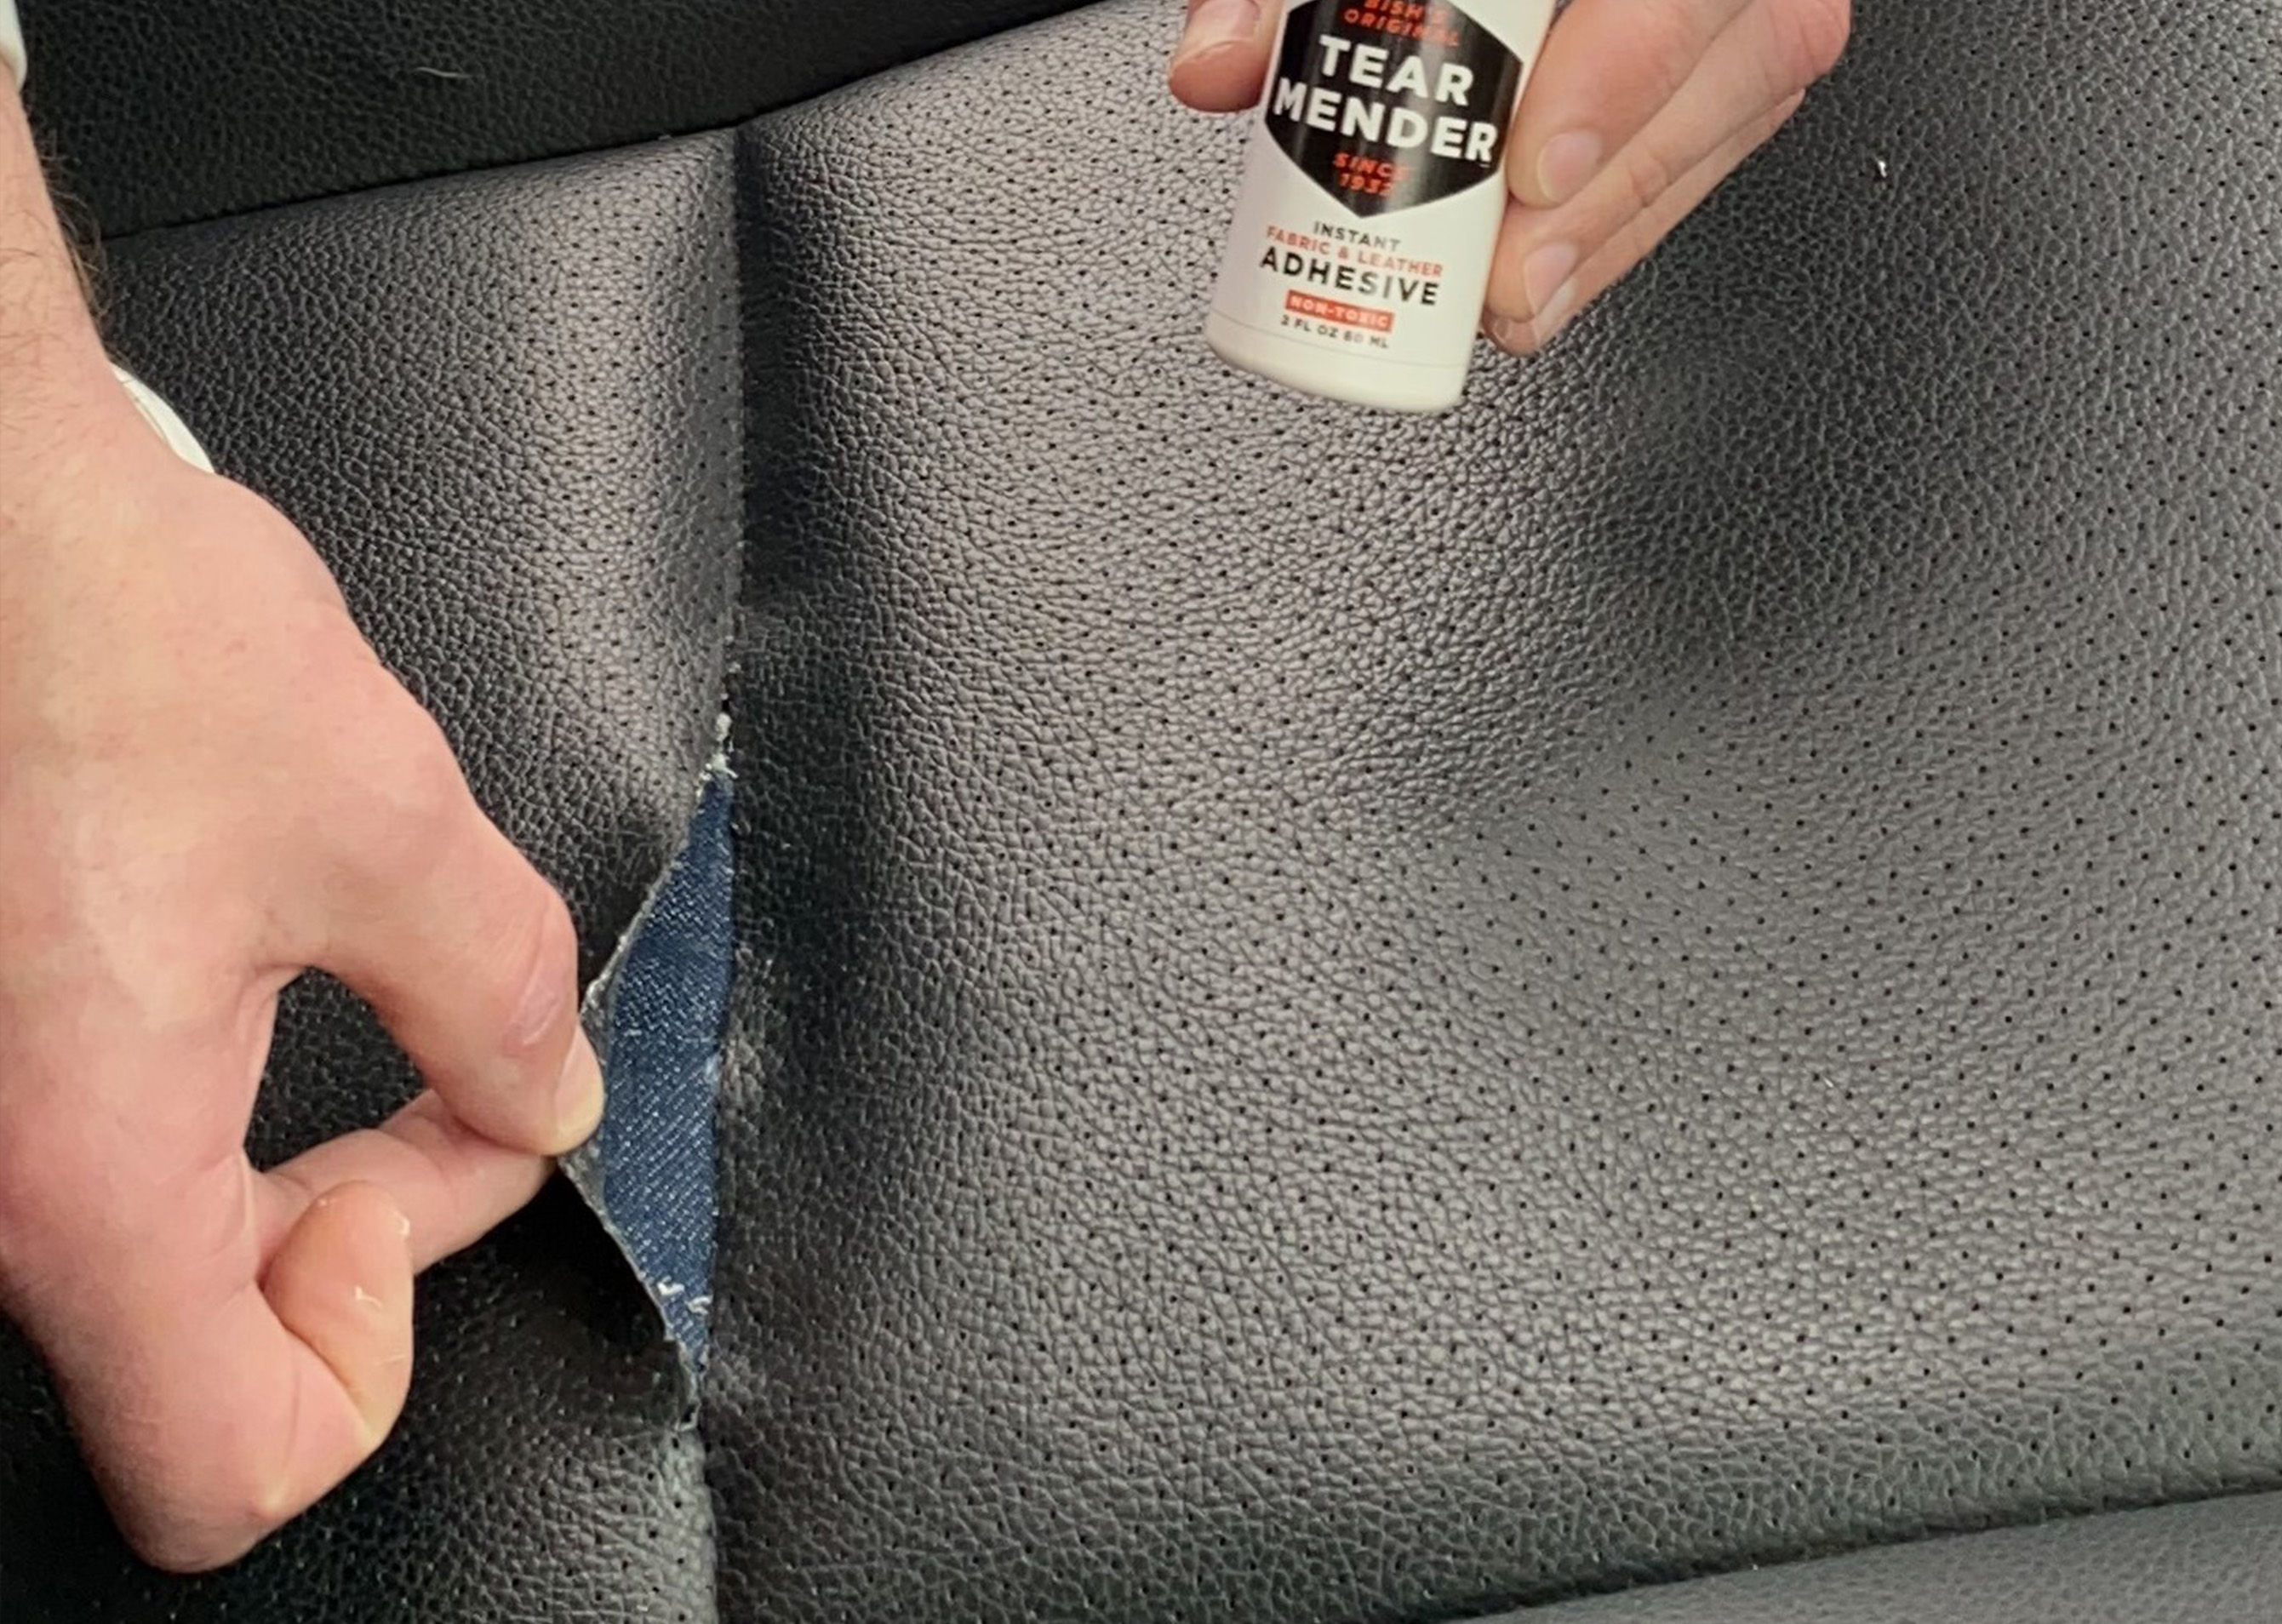
- Cut a piece of denim larger than the torn area.
- Insert the denim into the hole, and center the patch under the torn area.
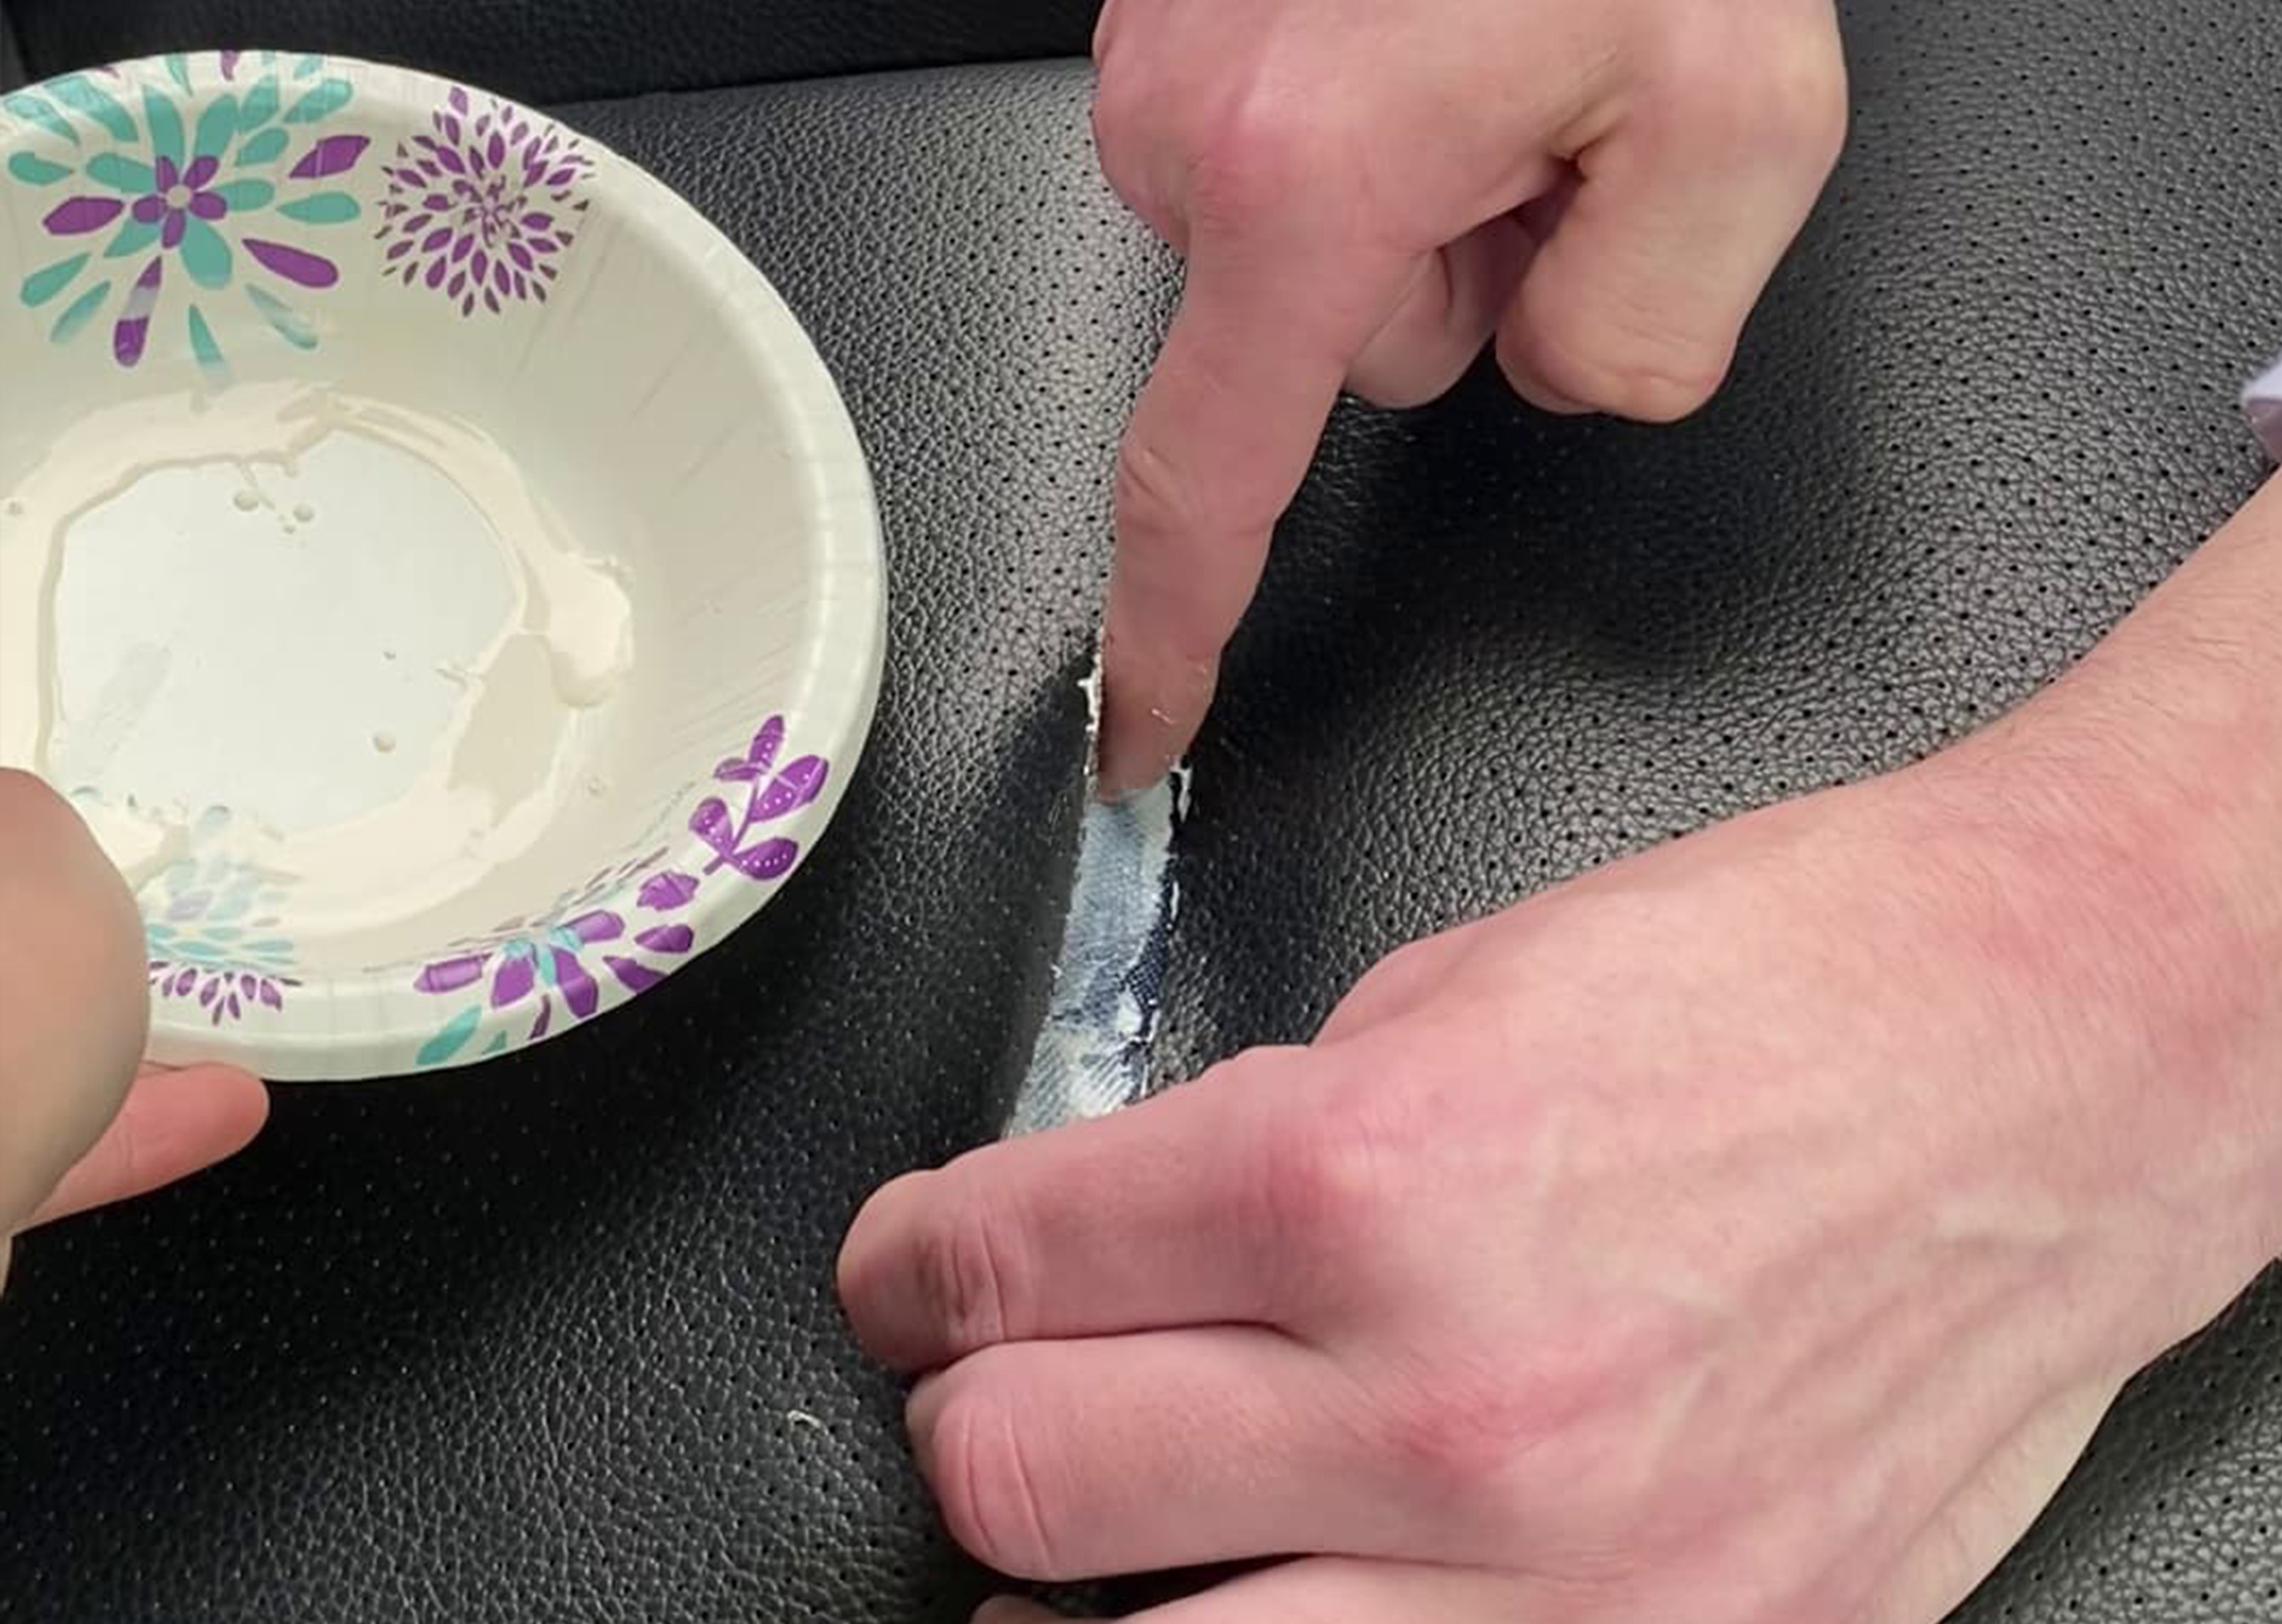
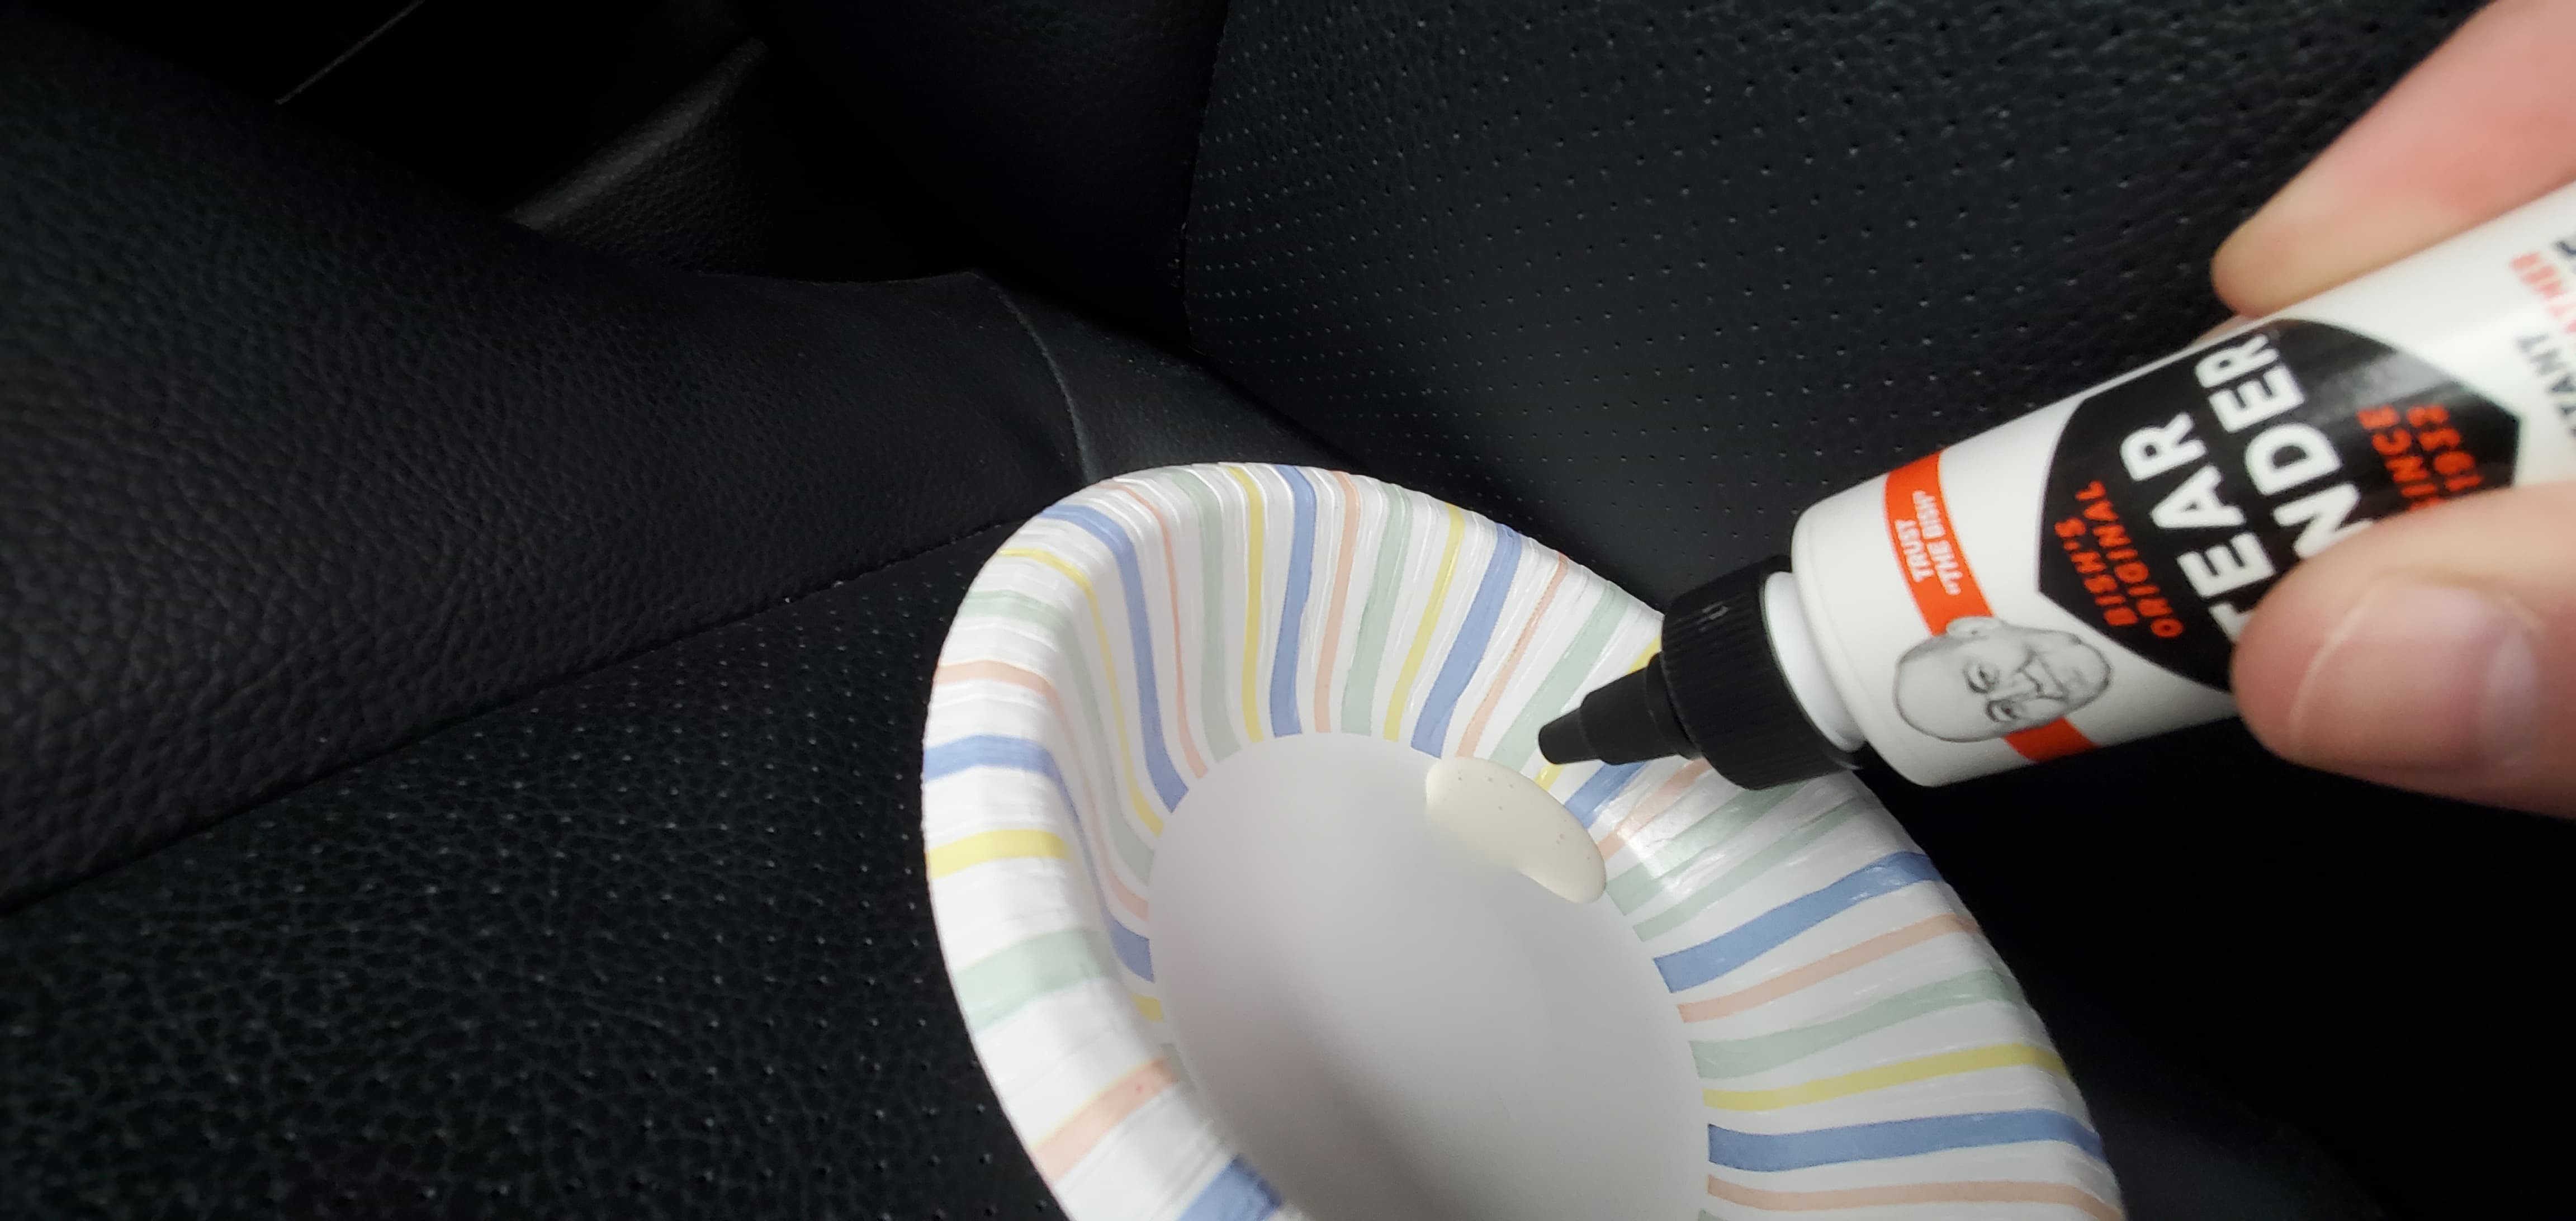
- Dispense Tear Mender into a paper bowl, and dip your finger into it (don’t worry, it will peel off your finger easily!)
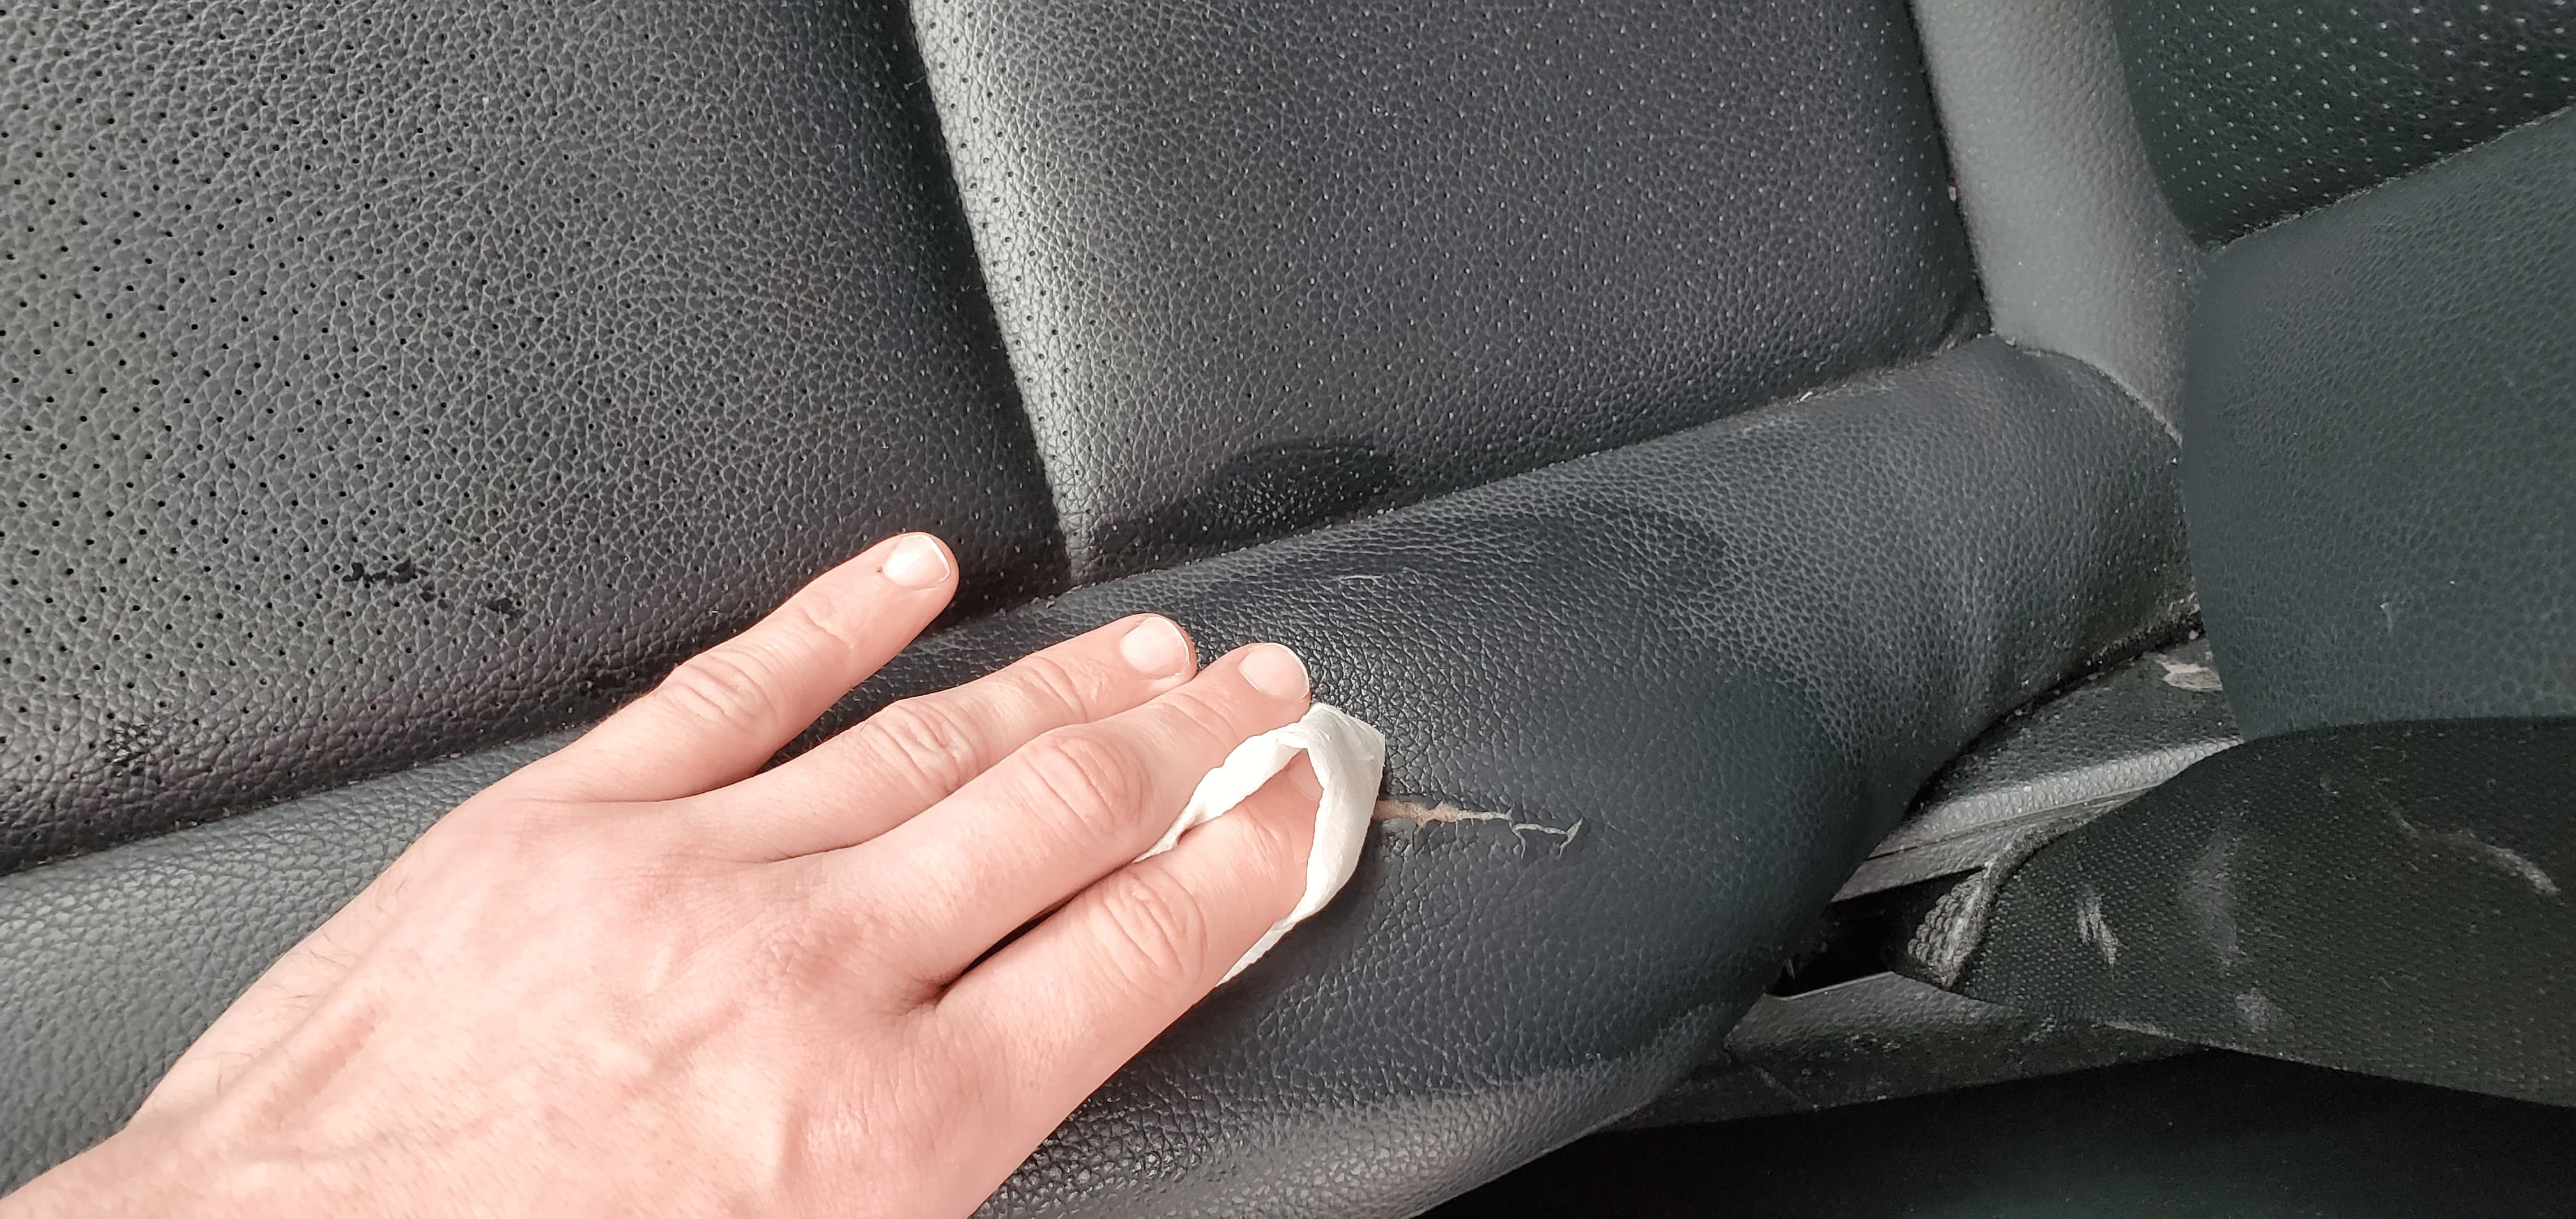
- Use your finger to apply a thin layer of Tear Mender to the denim while the other hand holds the tear open (if the car seat has perforated holes in it, be careful not to apply so much that it leaks through the leather).
- Press the leather down onto the denim and allow to dry for 3 minutes!
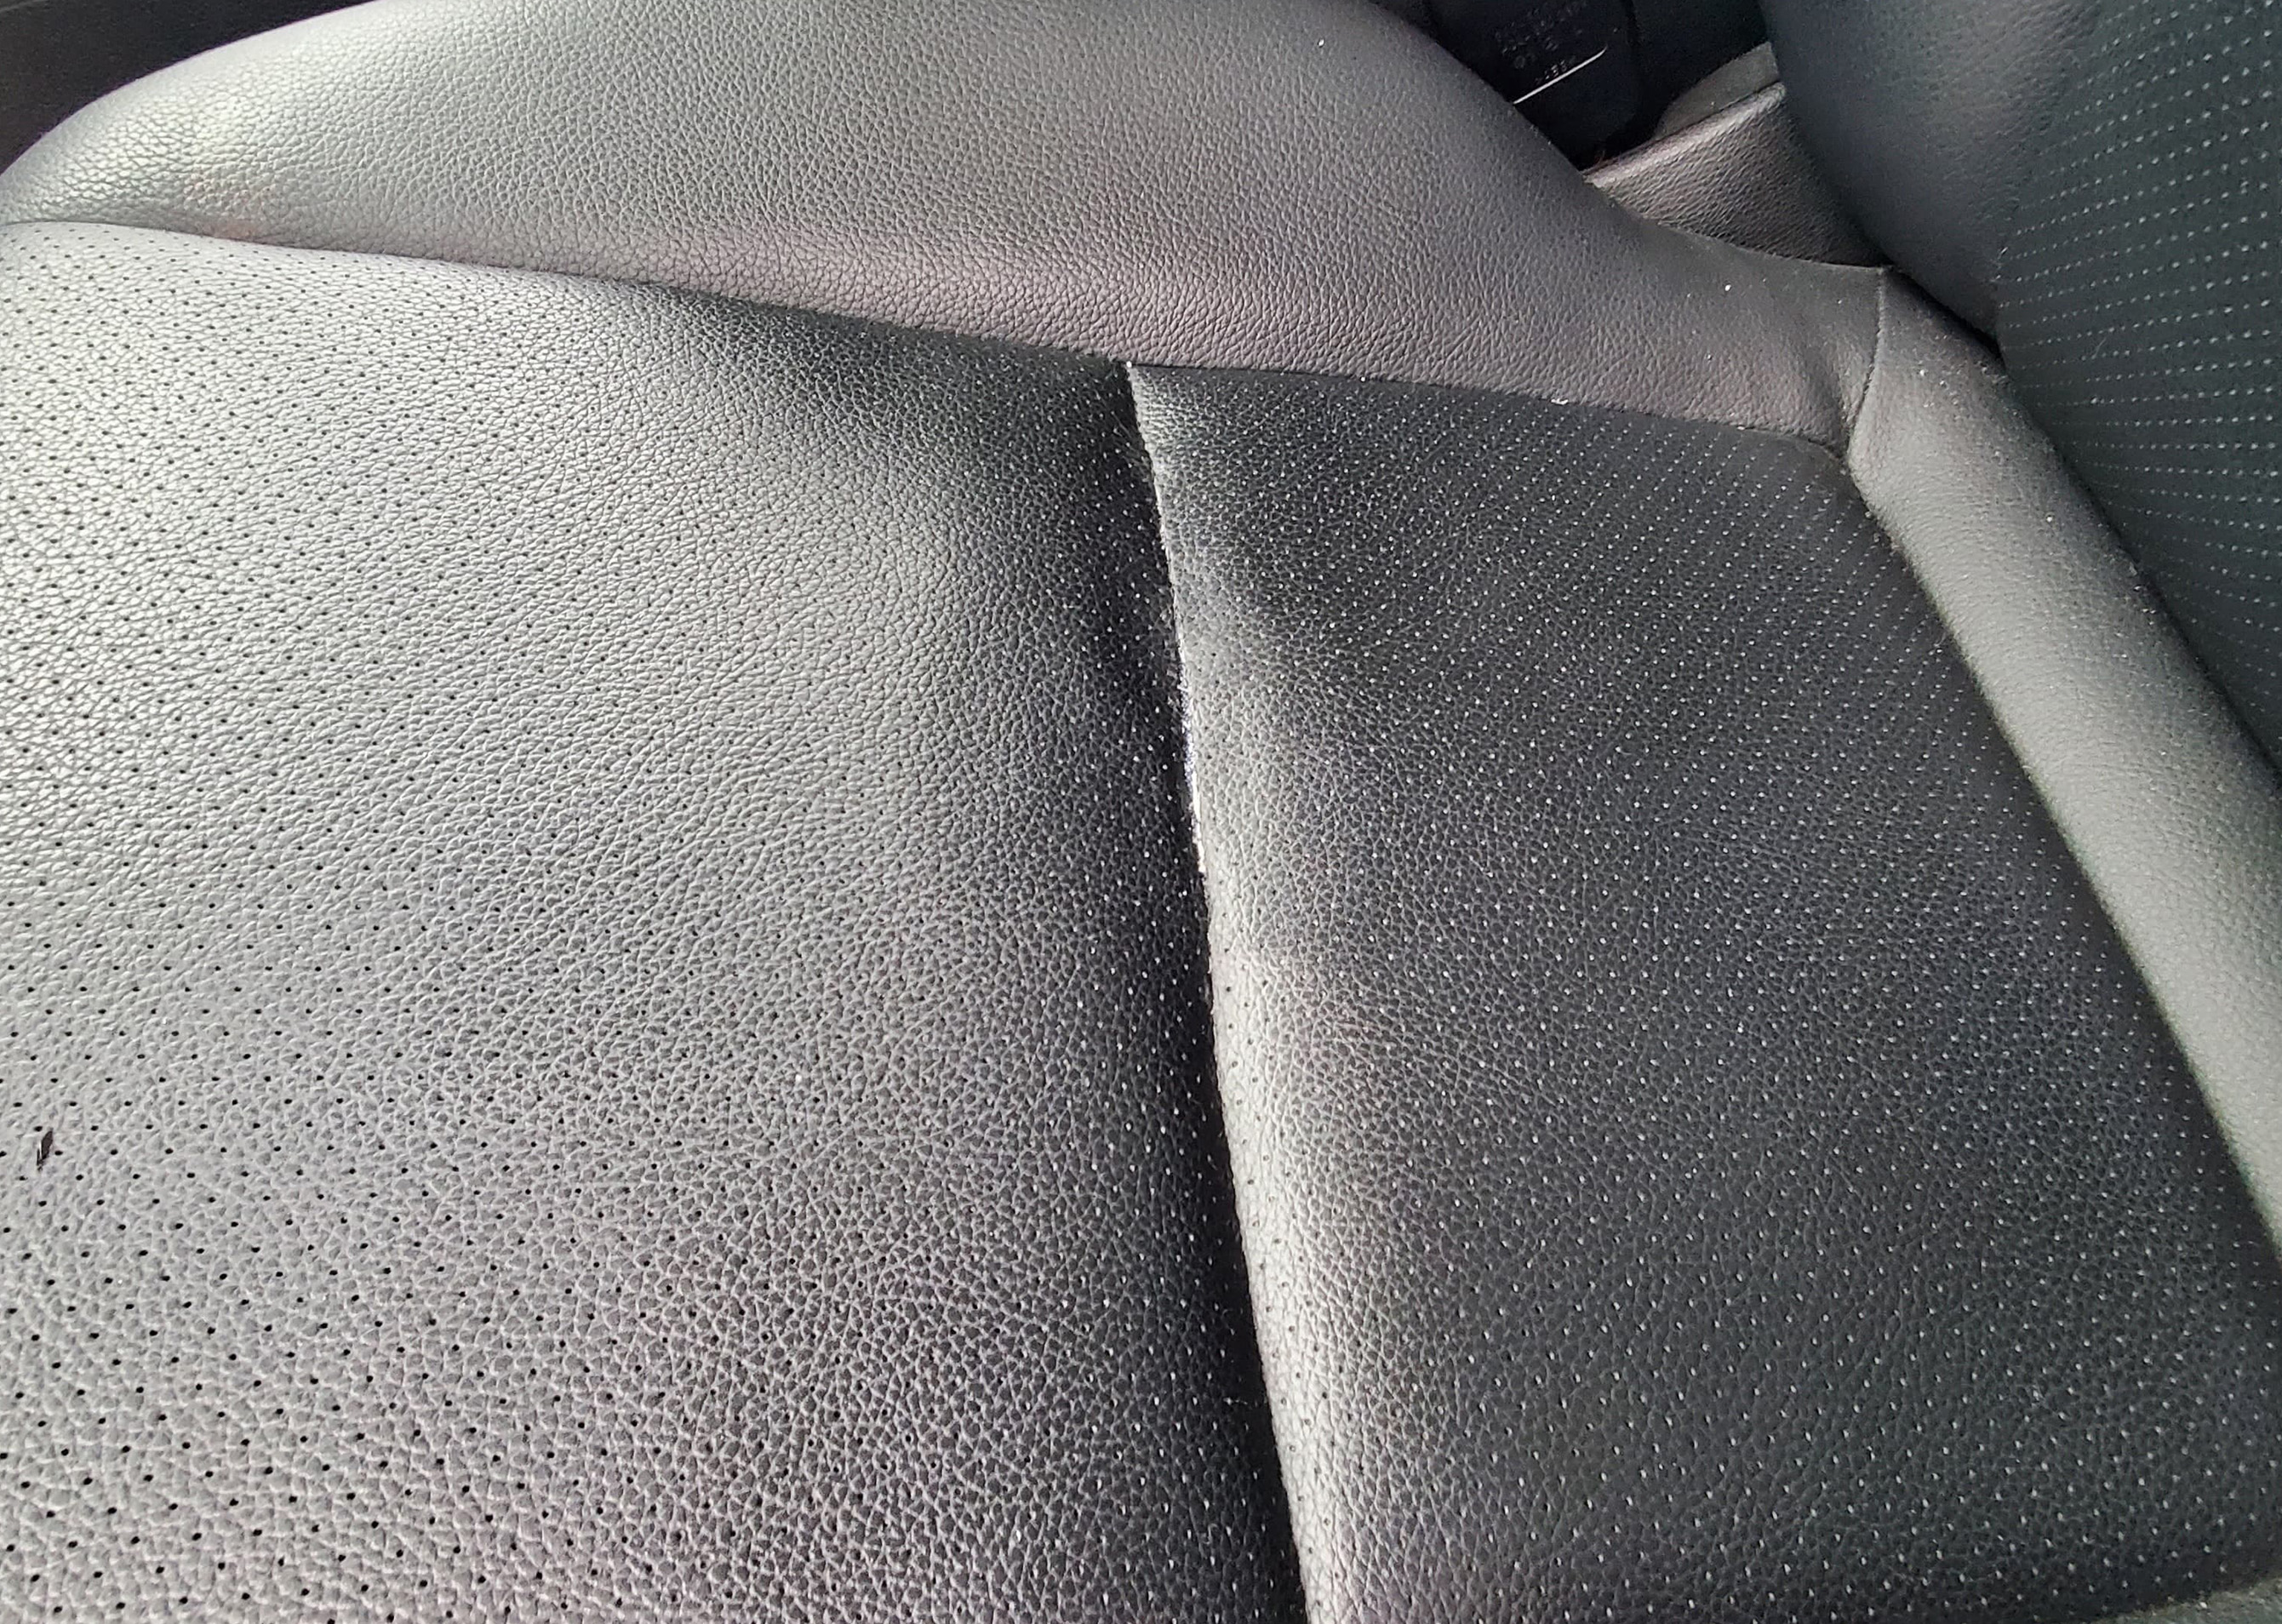
How to fix surface damage or cracked leather on your car seat:

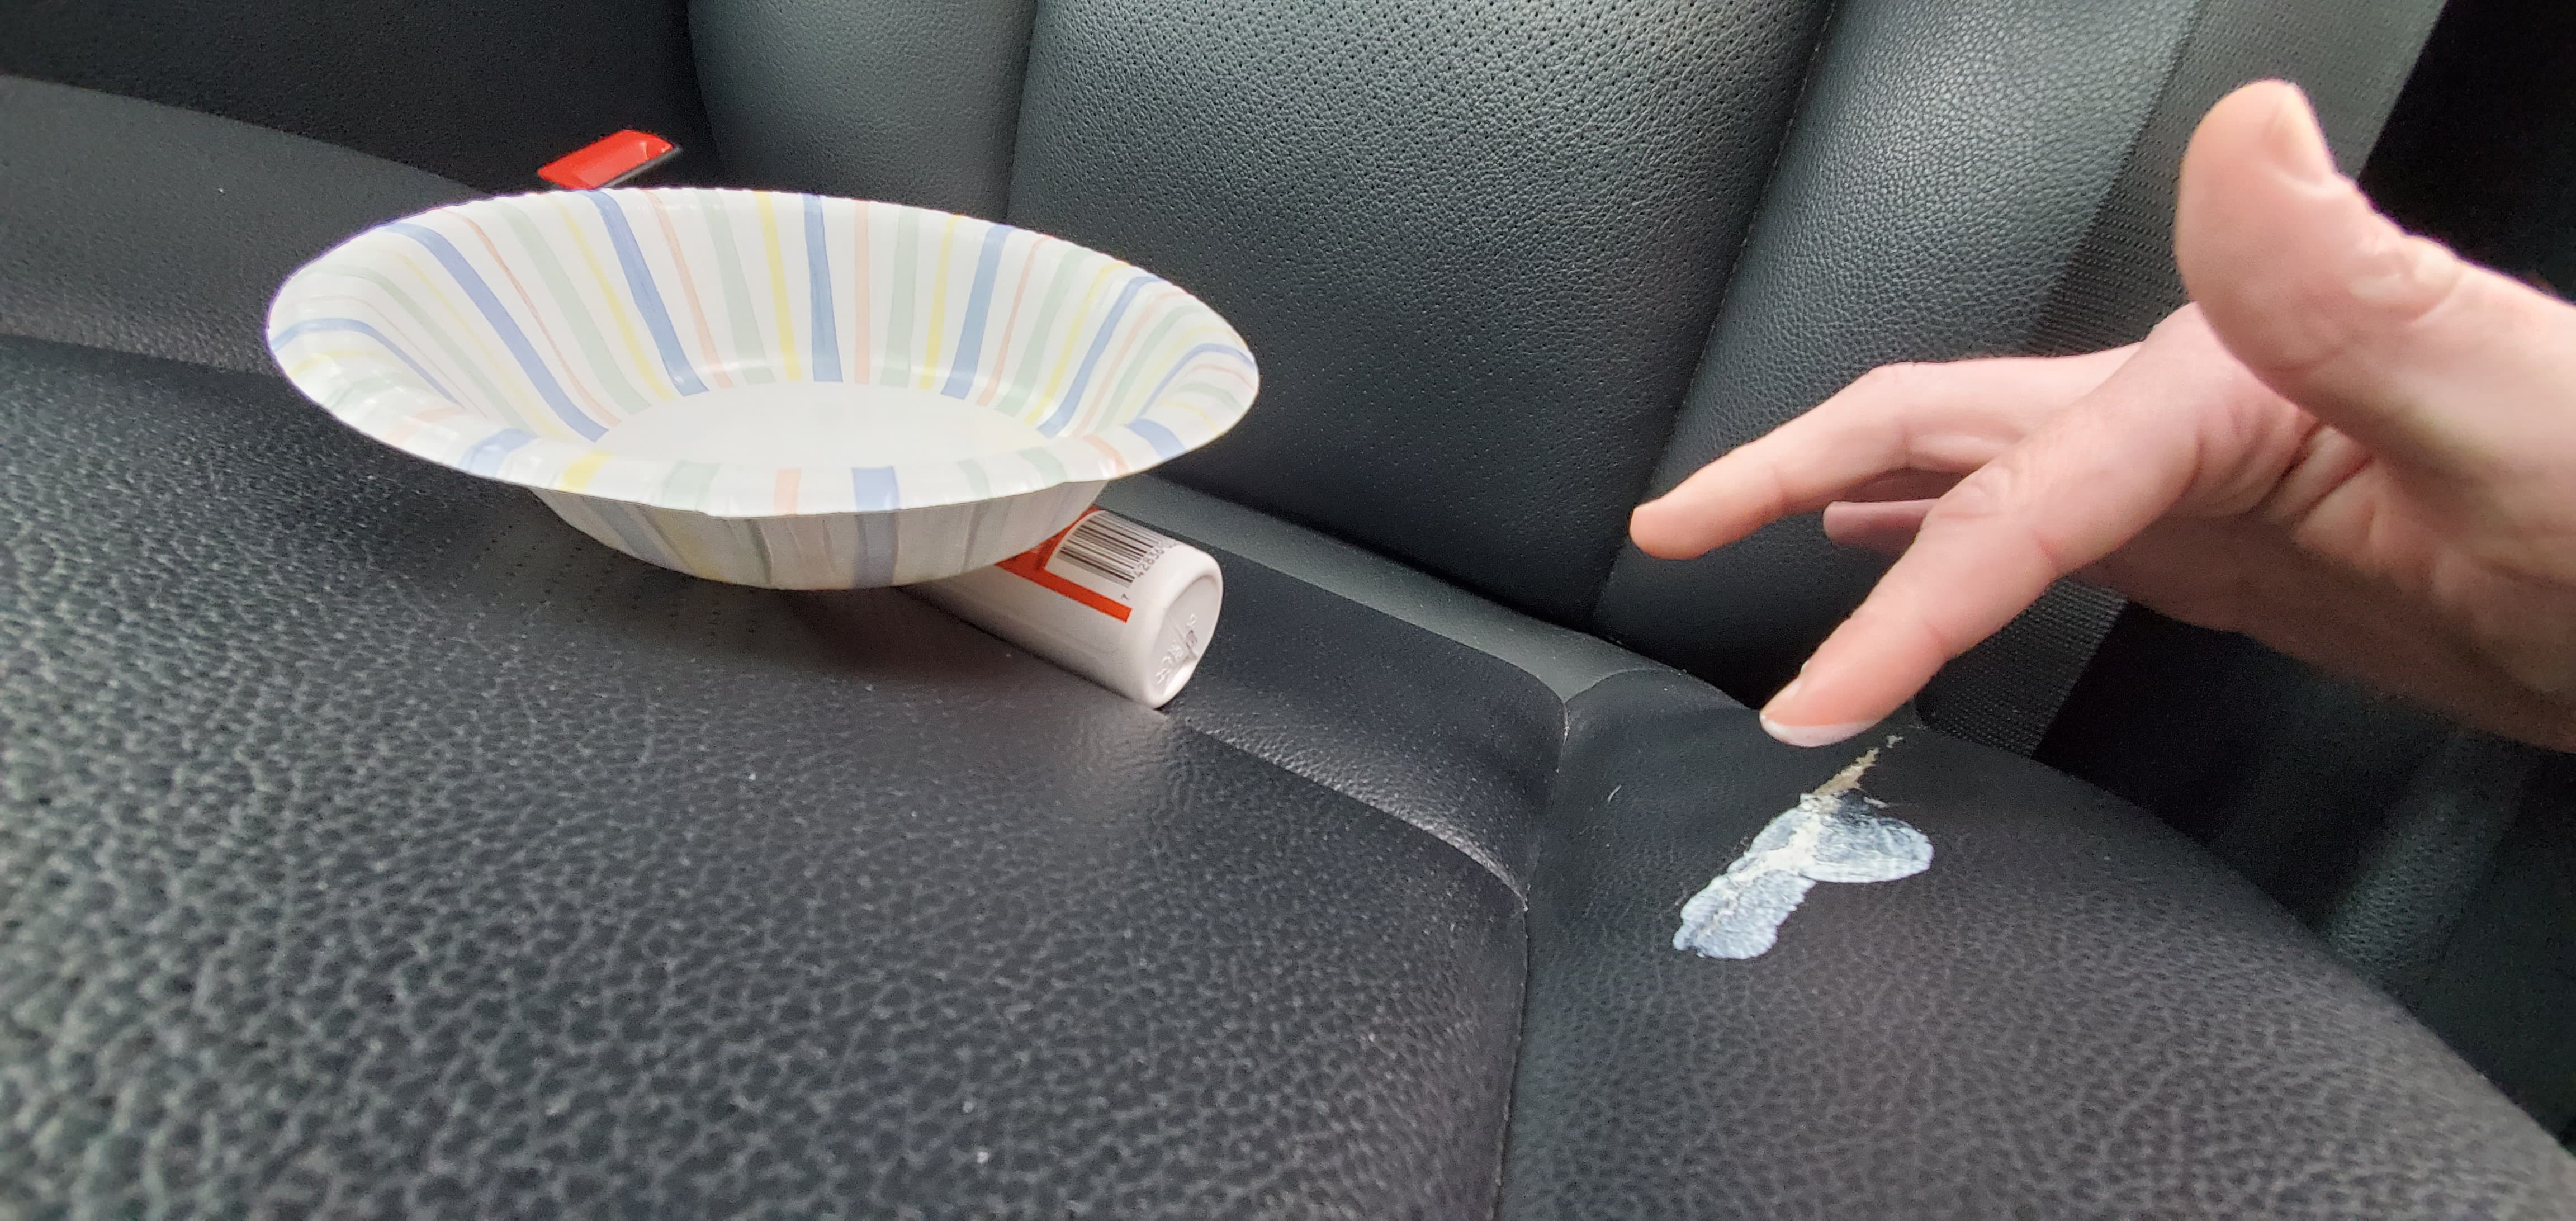
- Dispense Tear Mender into a disposable bowl or cup. Dip your finger in the Tear Mender and use it to fill in the low points of the cracks and surface tears. Allow to dry. (Don’t worry--it will adhere only to the fibrous material down in the crack, and you will be able to wipe or peel it off the shiny finished surface of the leather).
- Depending on how deep or cracked the damage is, you may want to repeat step 1 a few times, to completely fill in the damaged area and restore the strength of the leather.
- Use an emery board (a disposable nail file) to sand away the excess fabric glue and remove the shiny finish in the area immediately surrounding the damage. (This step is like patching a wall--use the emery board to ‘sand’ the damaged area and dried Tear Mender until you have a flush, matte surface that will allow the finishing compound to adhere in the steps below).
- Wipe the area with an alcohol pad so the finishing compound will adhere to the surface.
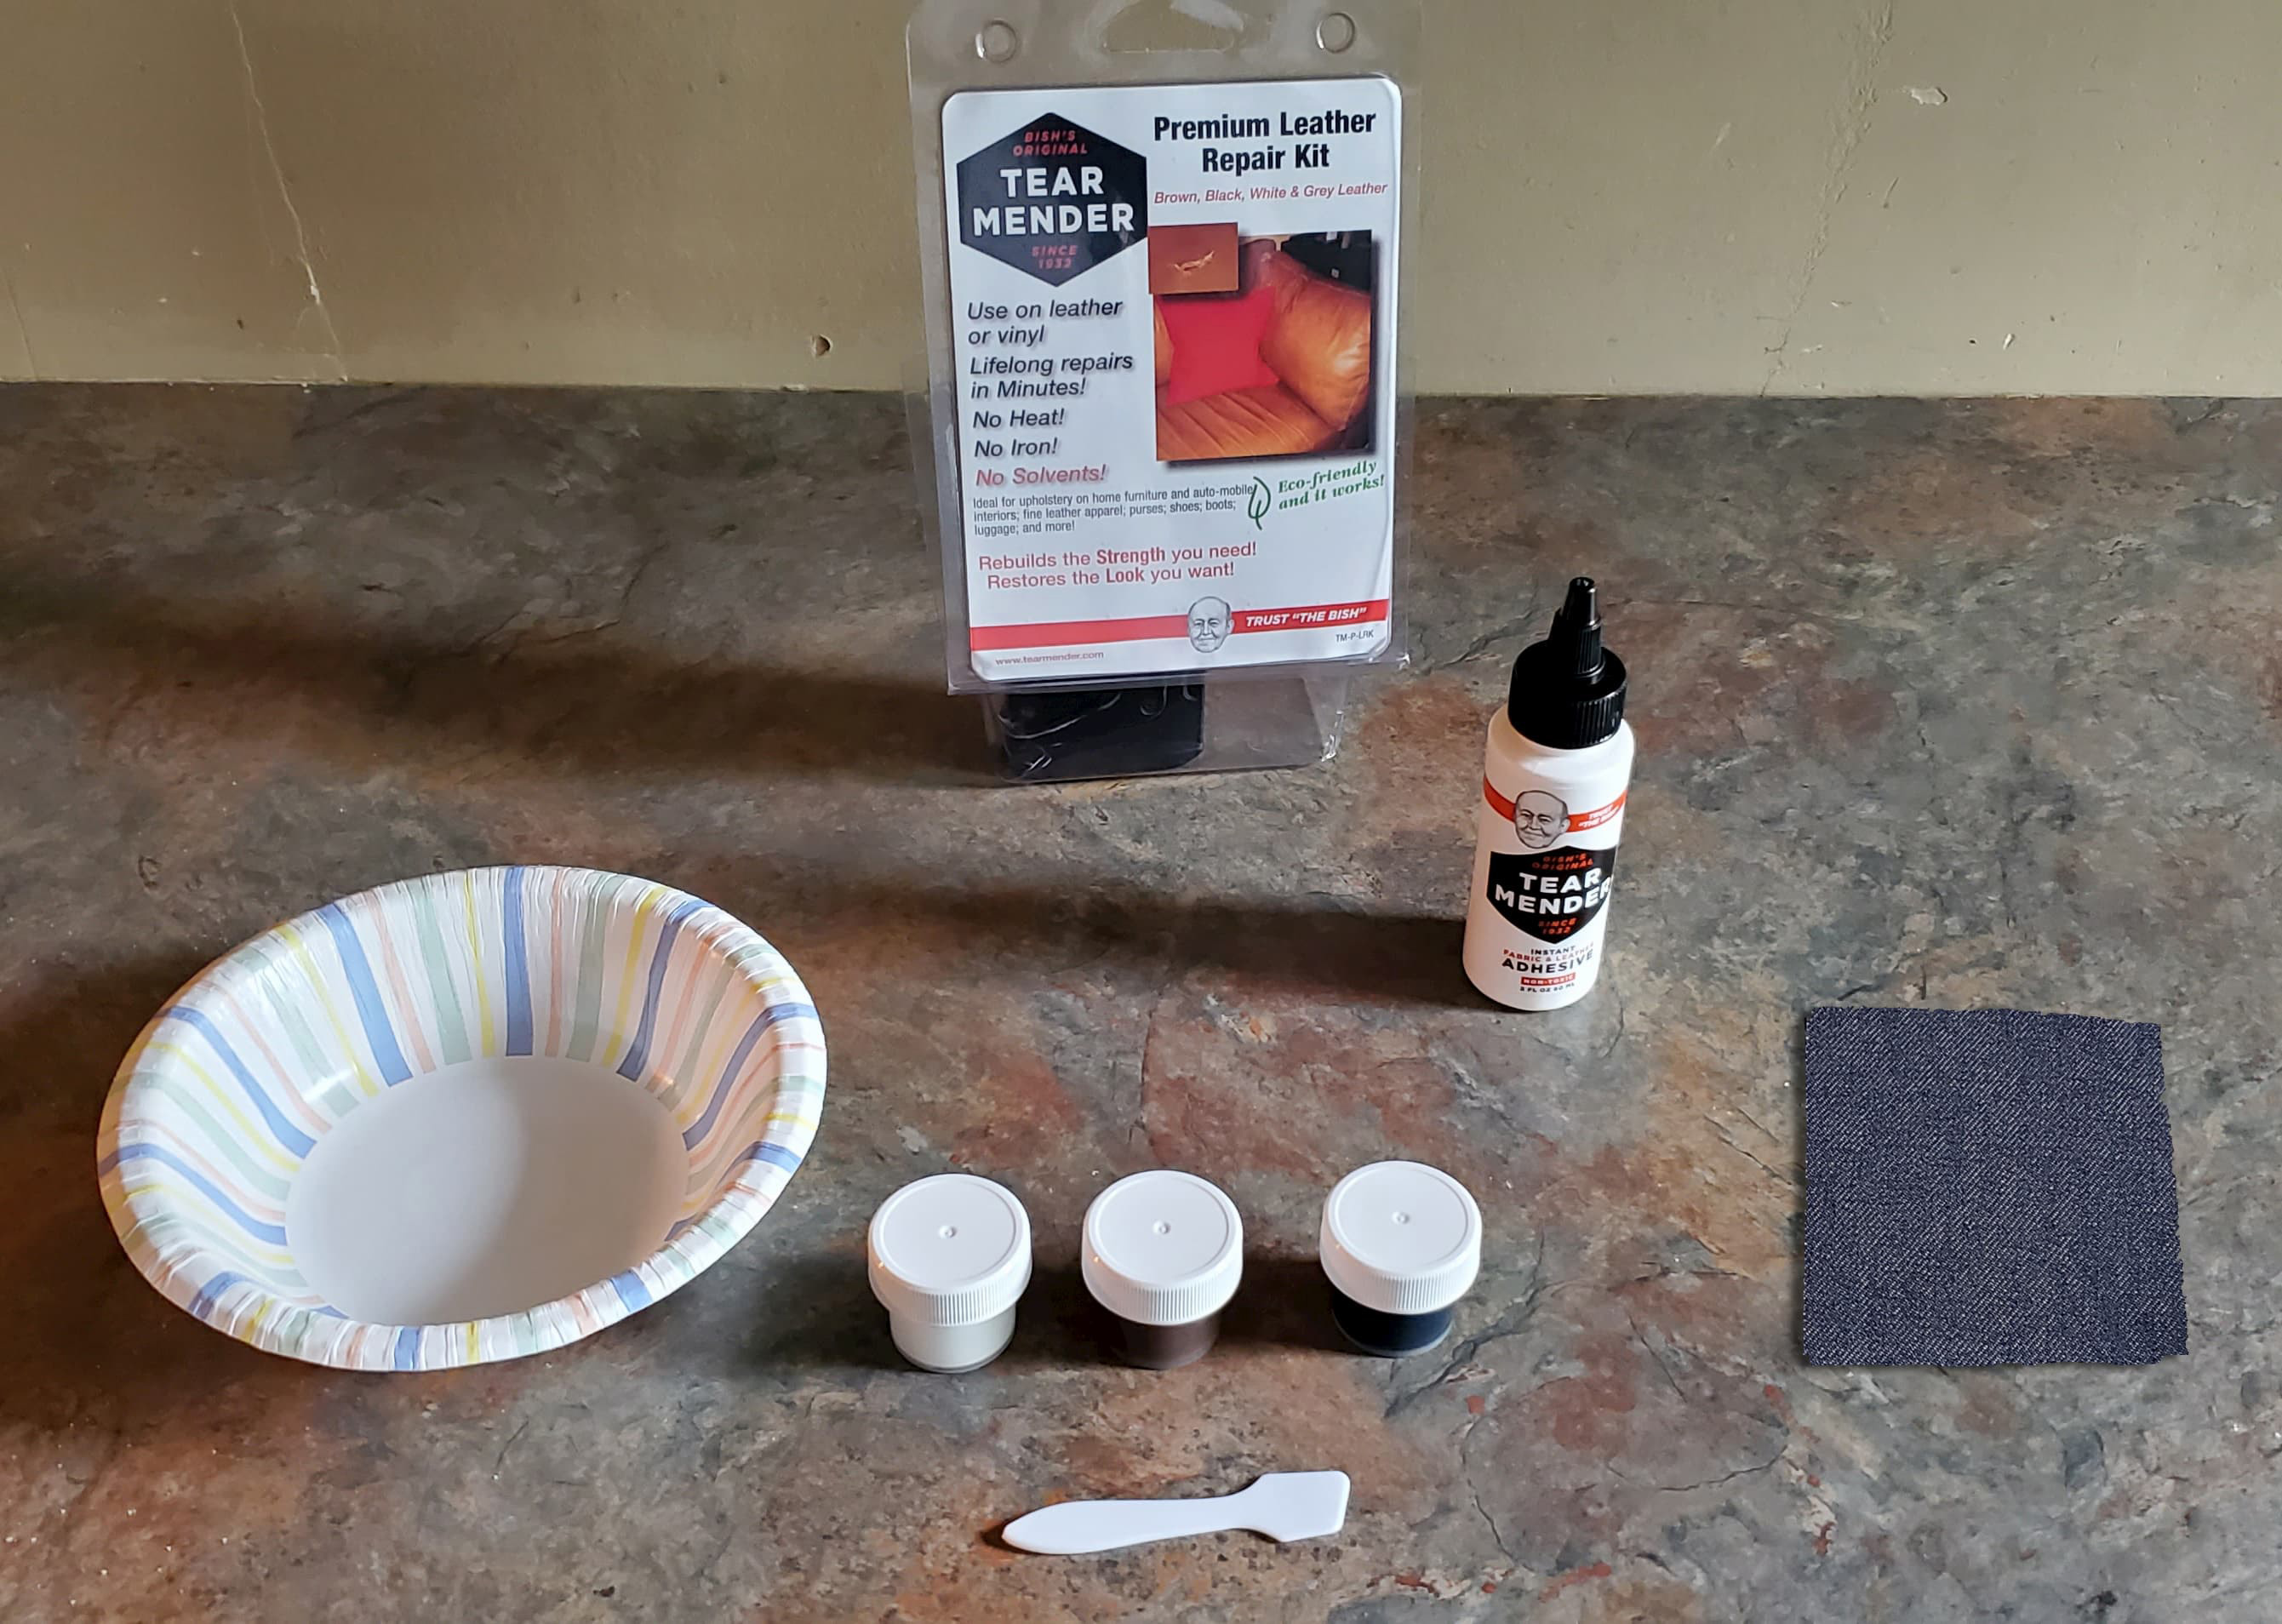
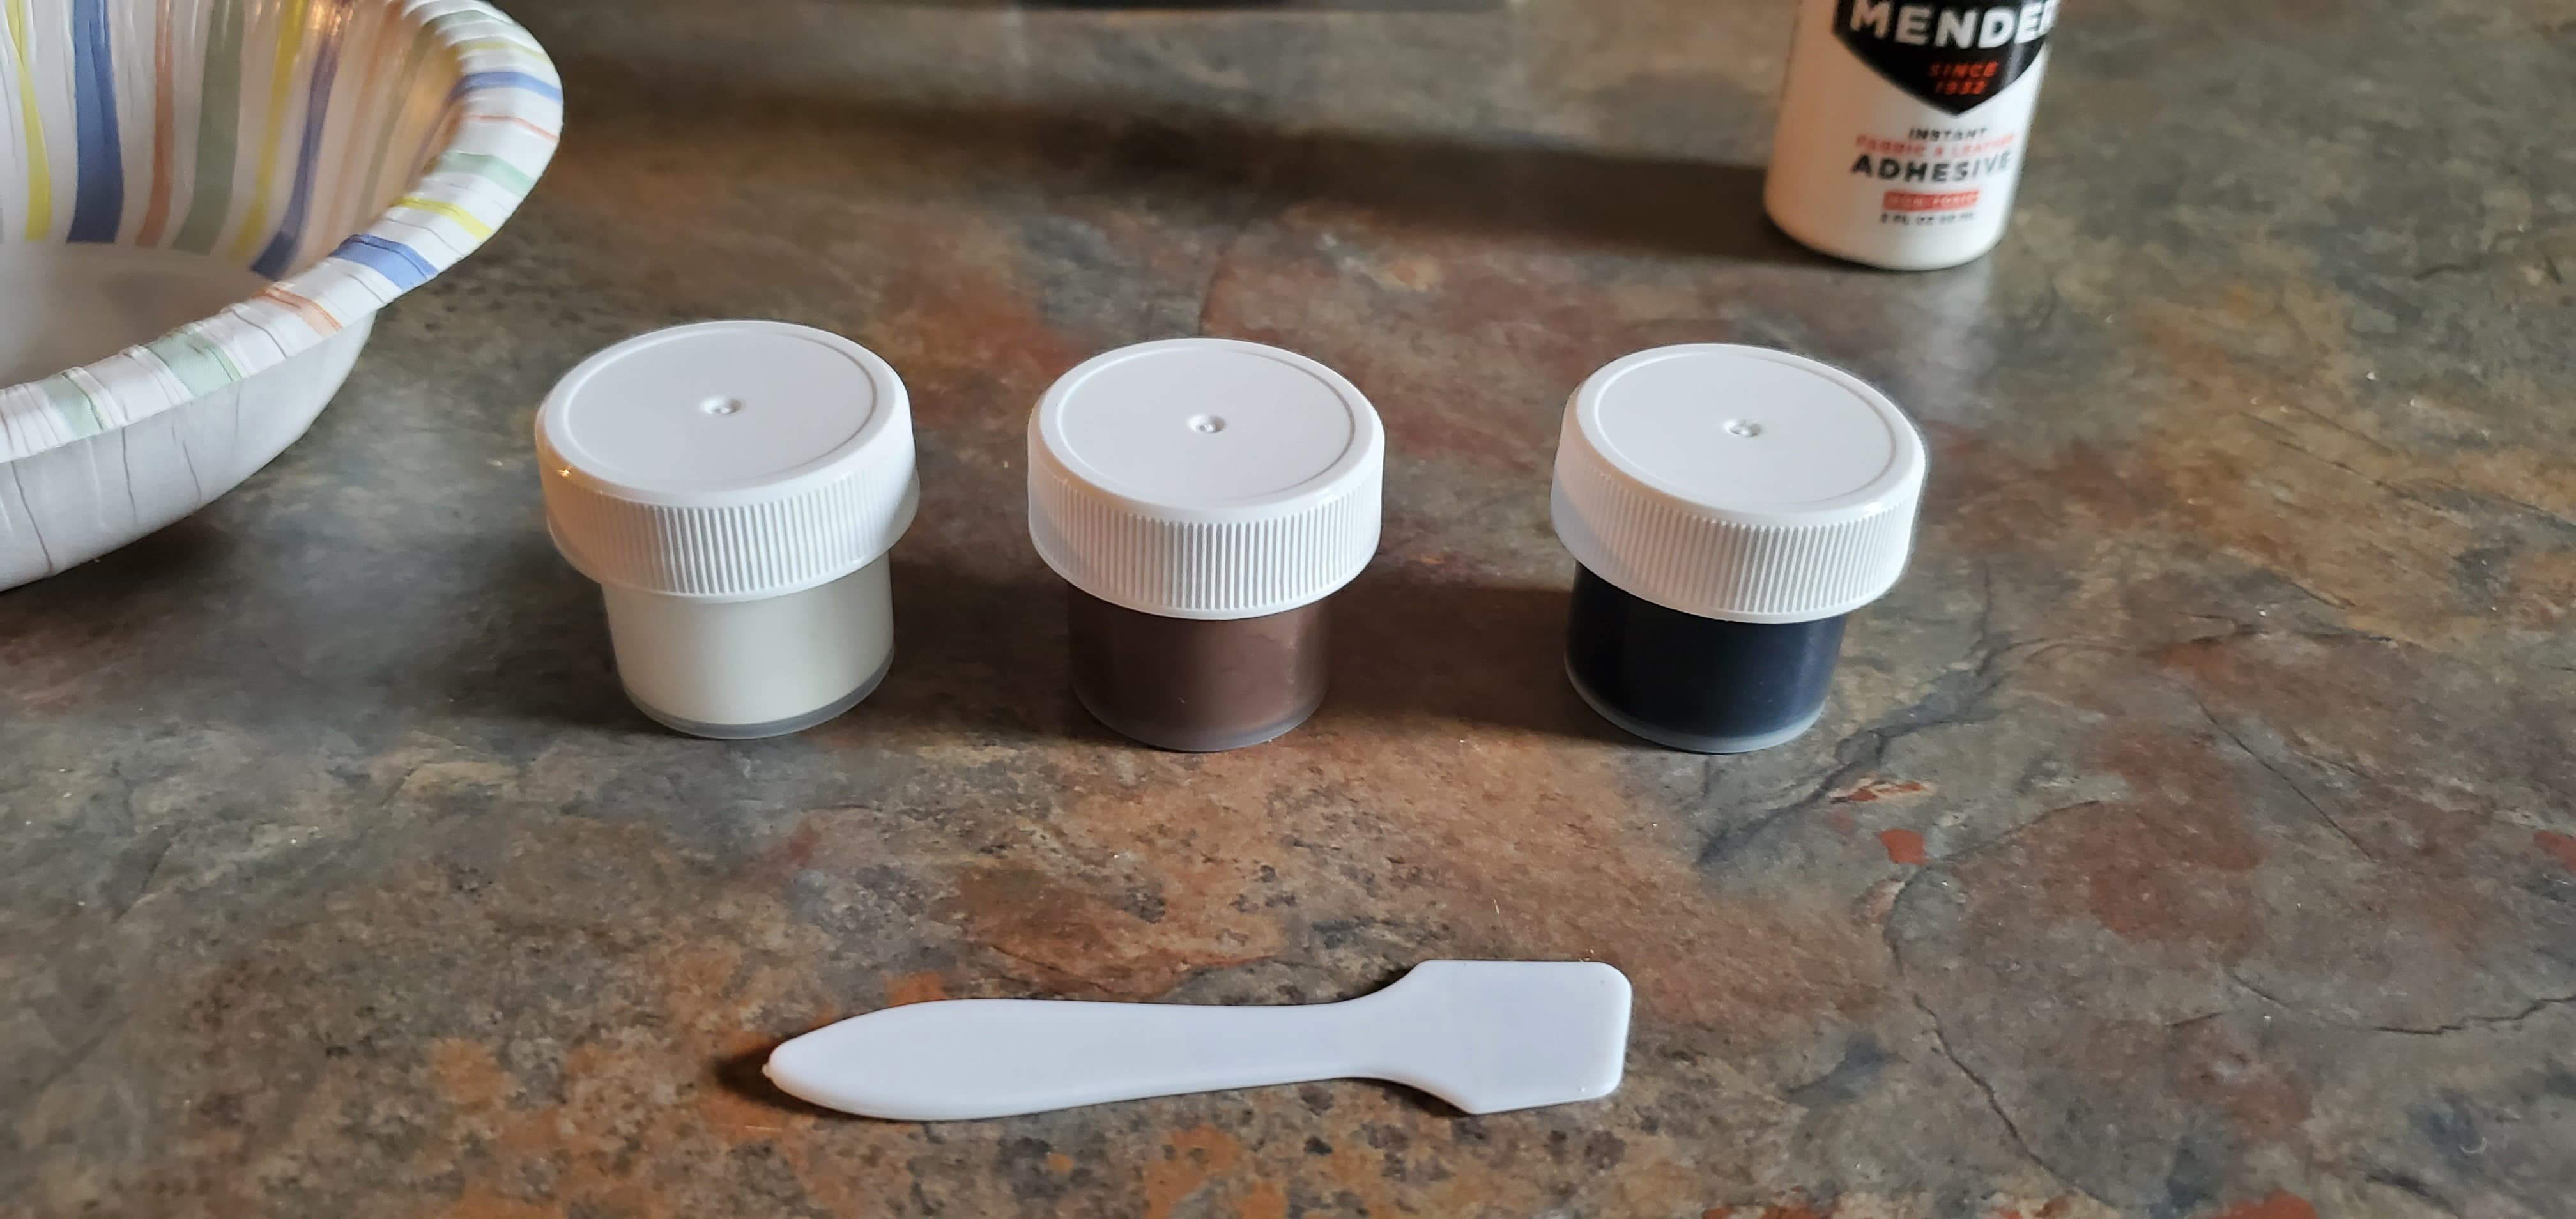
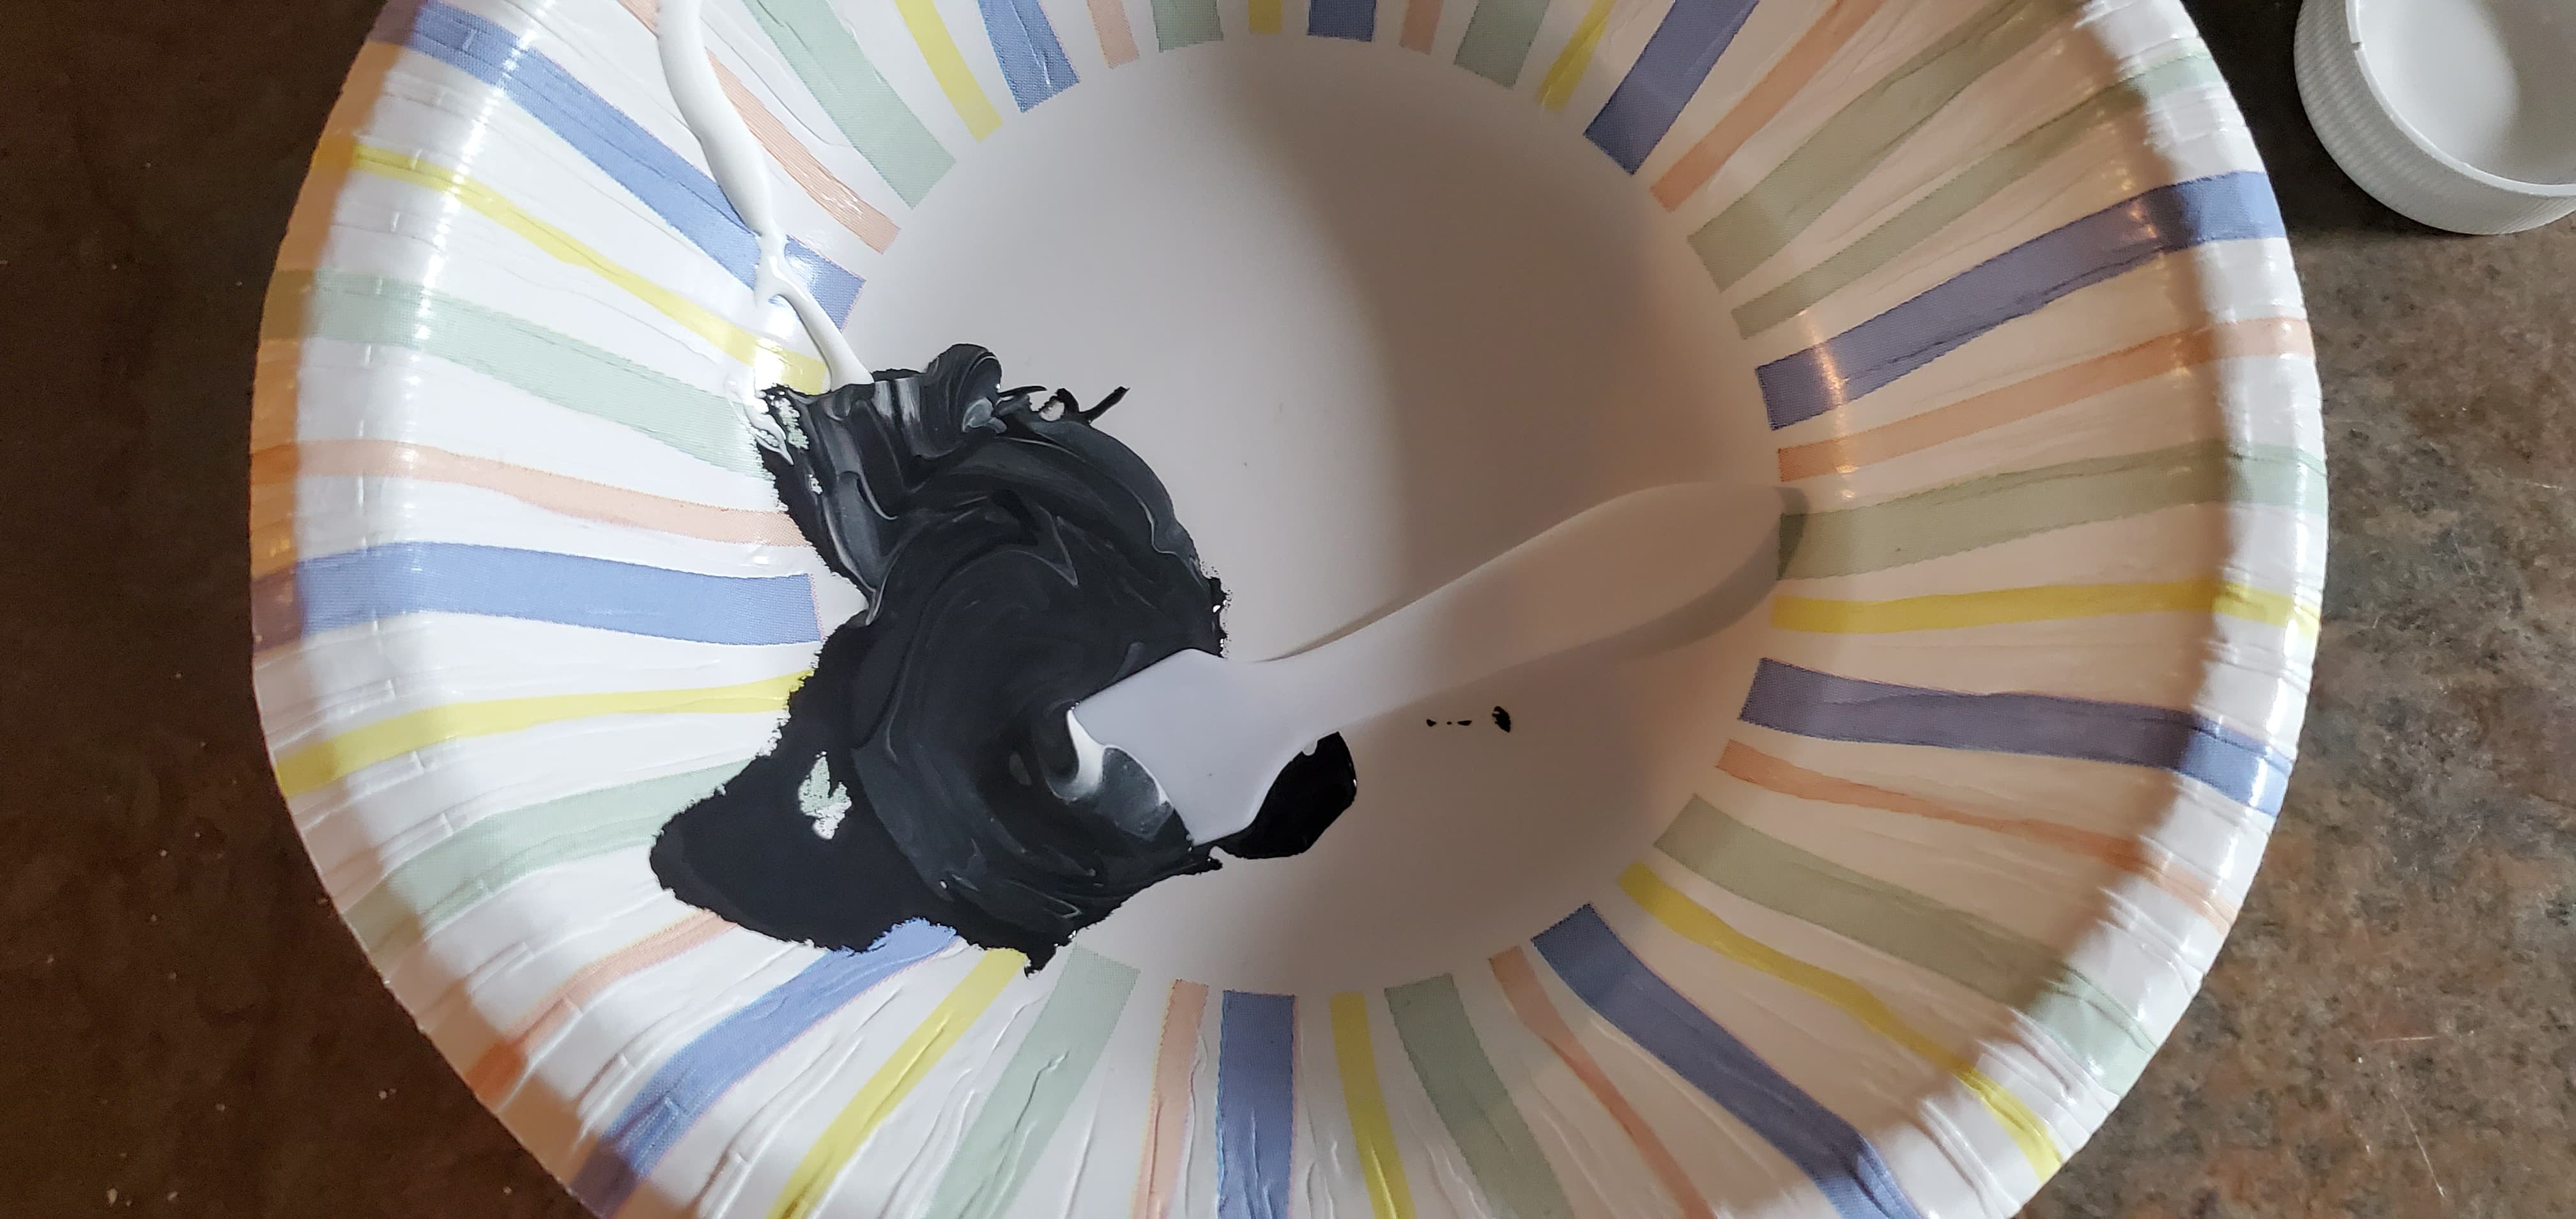
- Mix a combination of the three finishing compounds included in the Tear Mender Leather Repair kit (white, black, and brown) to match the color of your car seat. (My seat is dark grey, so I mixed white and black until I had the right shade).
- Apply a layer of the finishing compound with a plastic spatula and let it dry.
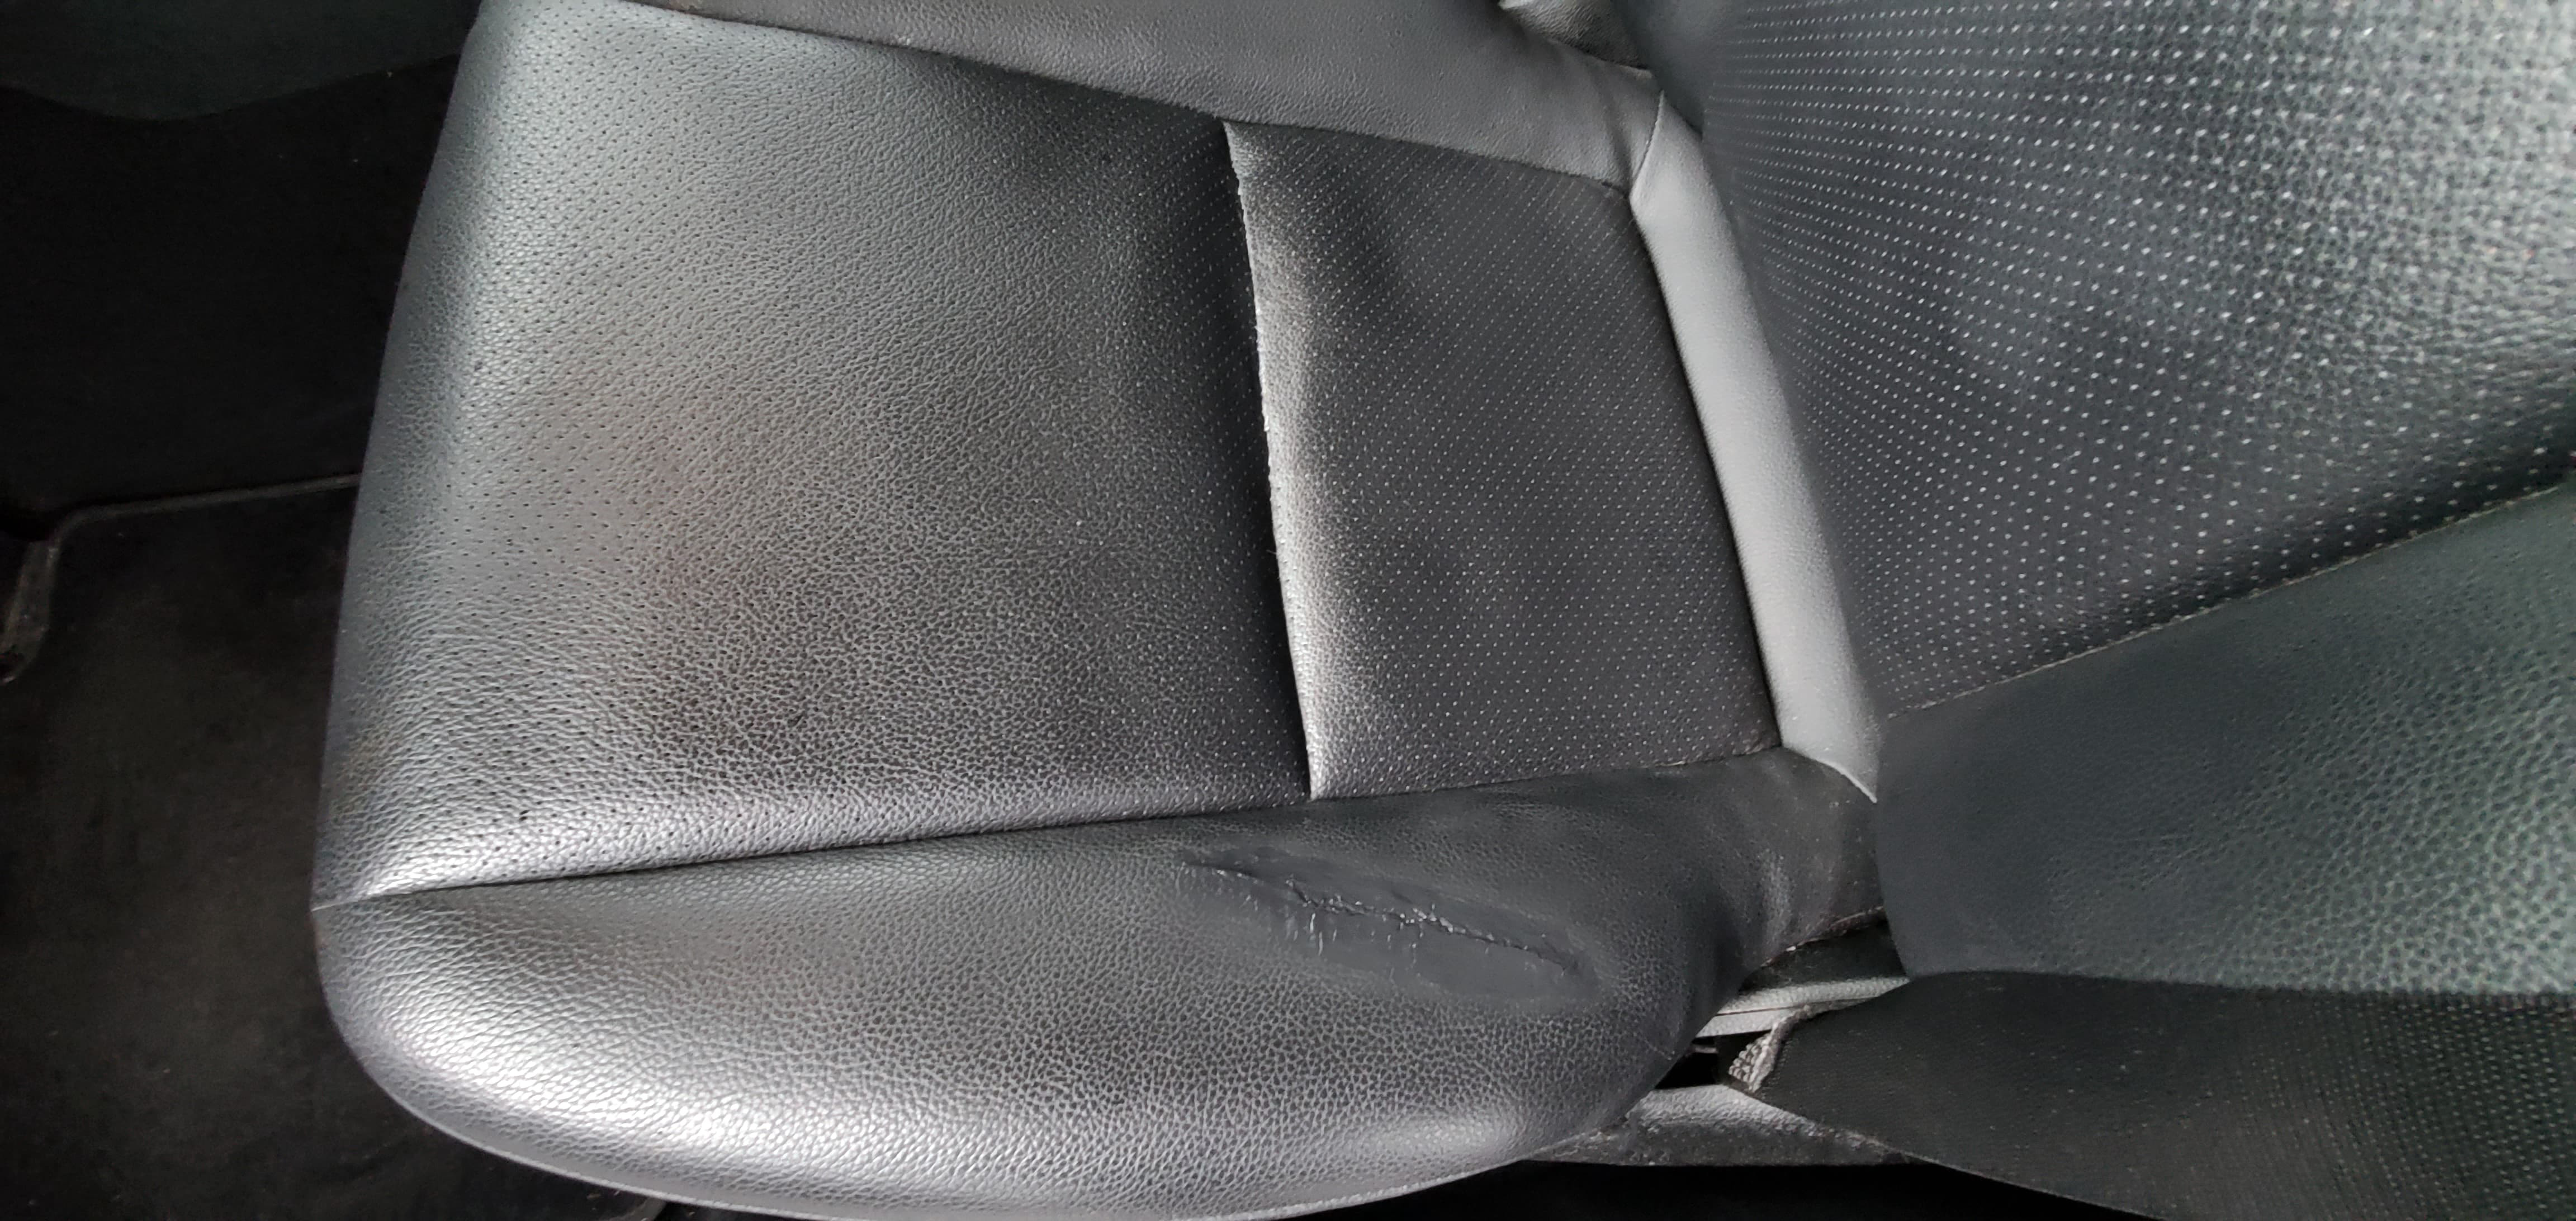
- Repeat Step 6 until you have obscured the repair. (You may want to gently blot the final coat of finishing compound with a sponge to add a texture to the finishing compound and further match your leather).

Do you have photos of your repairs? Send them to kreilly@lhbindustries for a chance to win a 2 oz. bottle of Tear Mender.